Earflap Cap – Free Pattern and Tutorial

Hut_003

It`s about 2 Months ago that I promised to share my Earflap Cap Pattern … I know, I know… . Better late than never. Yesterday we got snow again, that was my reminder. Here we go…

Hut_001

I just love this cap, she wears it nearly every day. It holds her ears cozy and warm. If you`re in a hurry, you can sew up one in about 45 minutes. It`s an easy and fast project. Perfect, if you need a last-minute baby gift.

I`m not an artist, I don`t know why, I felt more like drawing this tutorial, rather than taking pictures. But I was in a mood. Hope that works for you.

Here is your pattern, be carefull not to scale the pattern while printing.

It`s for a head circumference of 46-48 cm. That should fit a baby from 12-18 Months.

1.Earflap-Cap_001

Note: This is a pattern without seam allowance. You may add 1 cm.

2.

 Earflap-Cap_002

Sew the side pieces to the middle piece. Right sides facing (RSF). Do the same with the lining fabric.

Sew the flap RSF together, crop the fabric around the curved edges. Turn right side out. Press.

3.Earflap-Cap_003

Baste the flap and the straps to the seam allowance of the fabric.
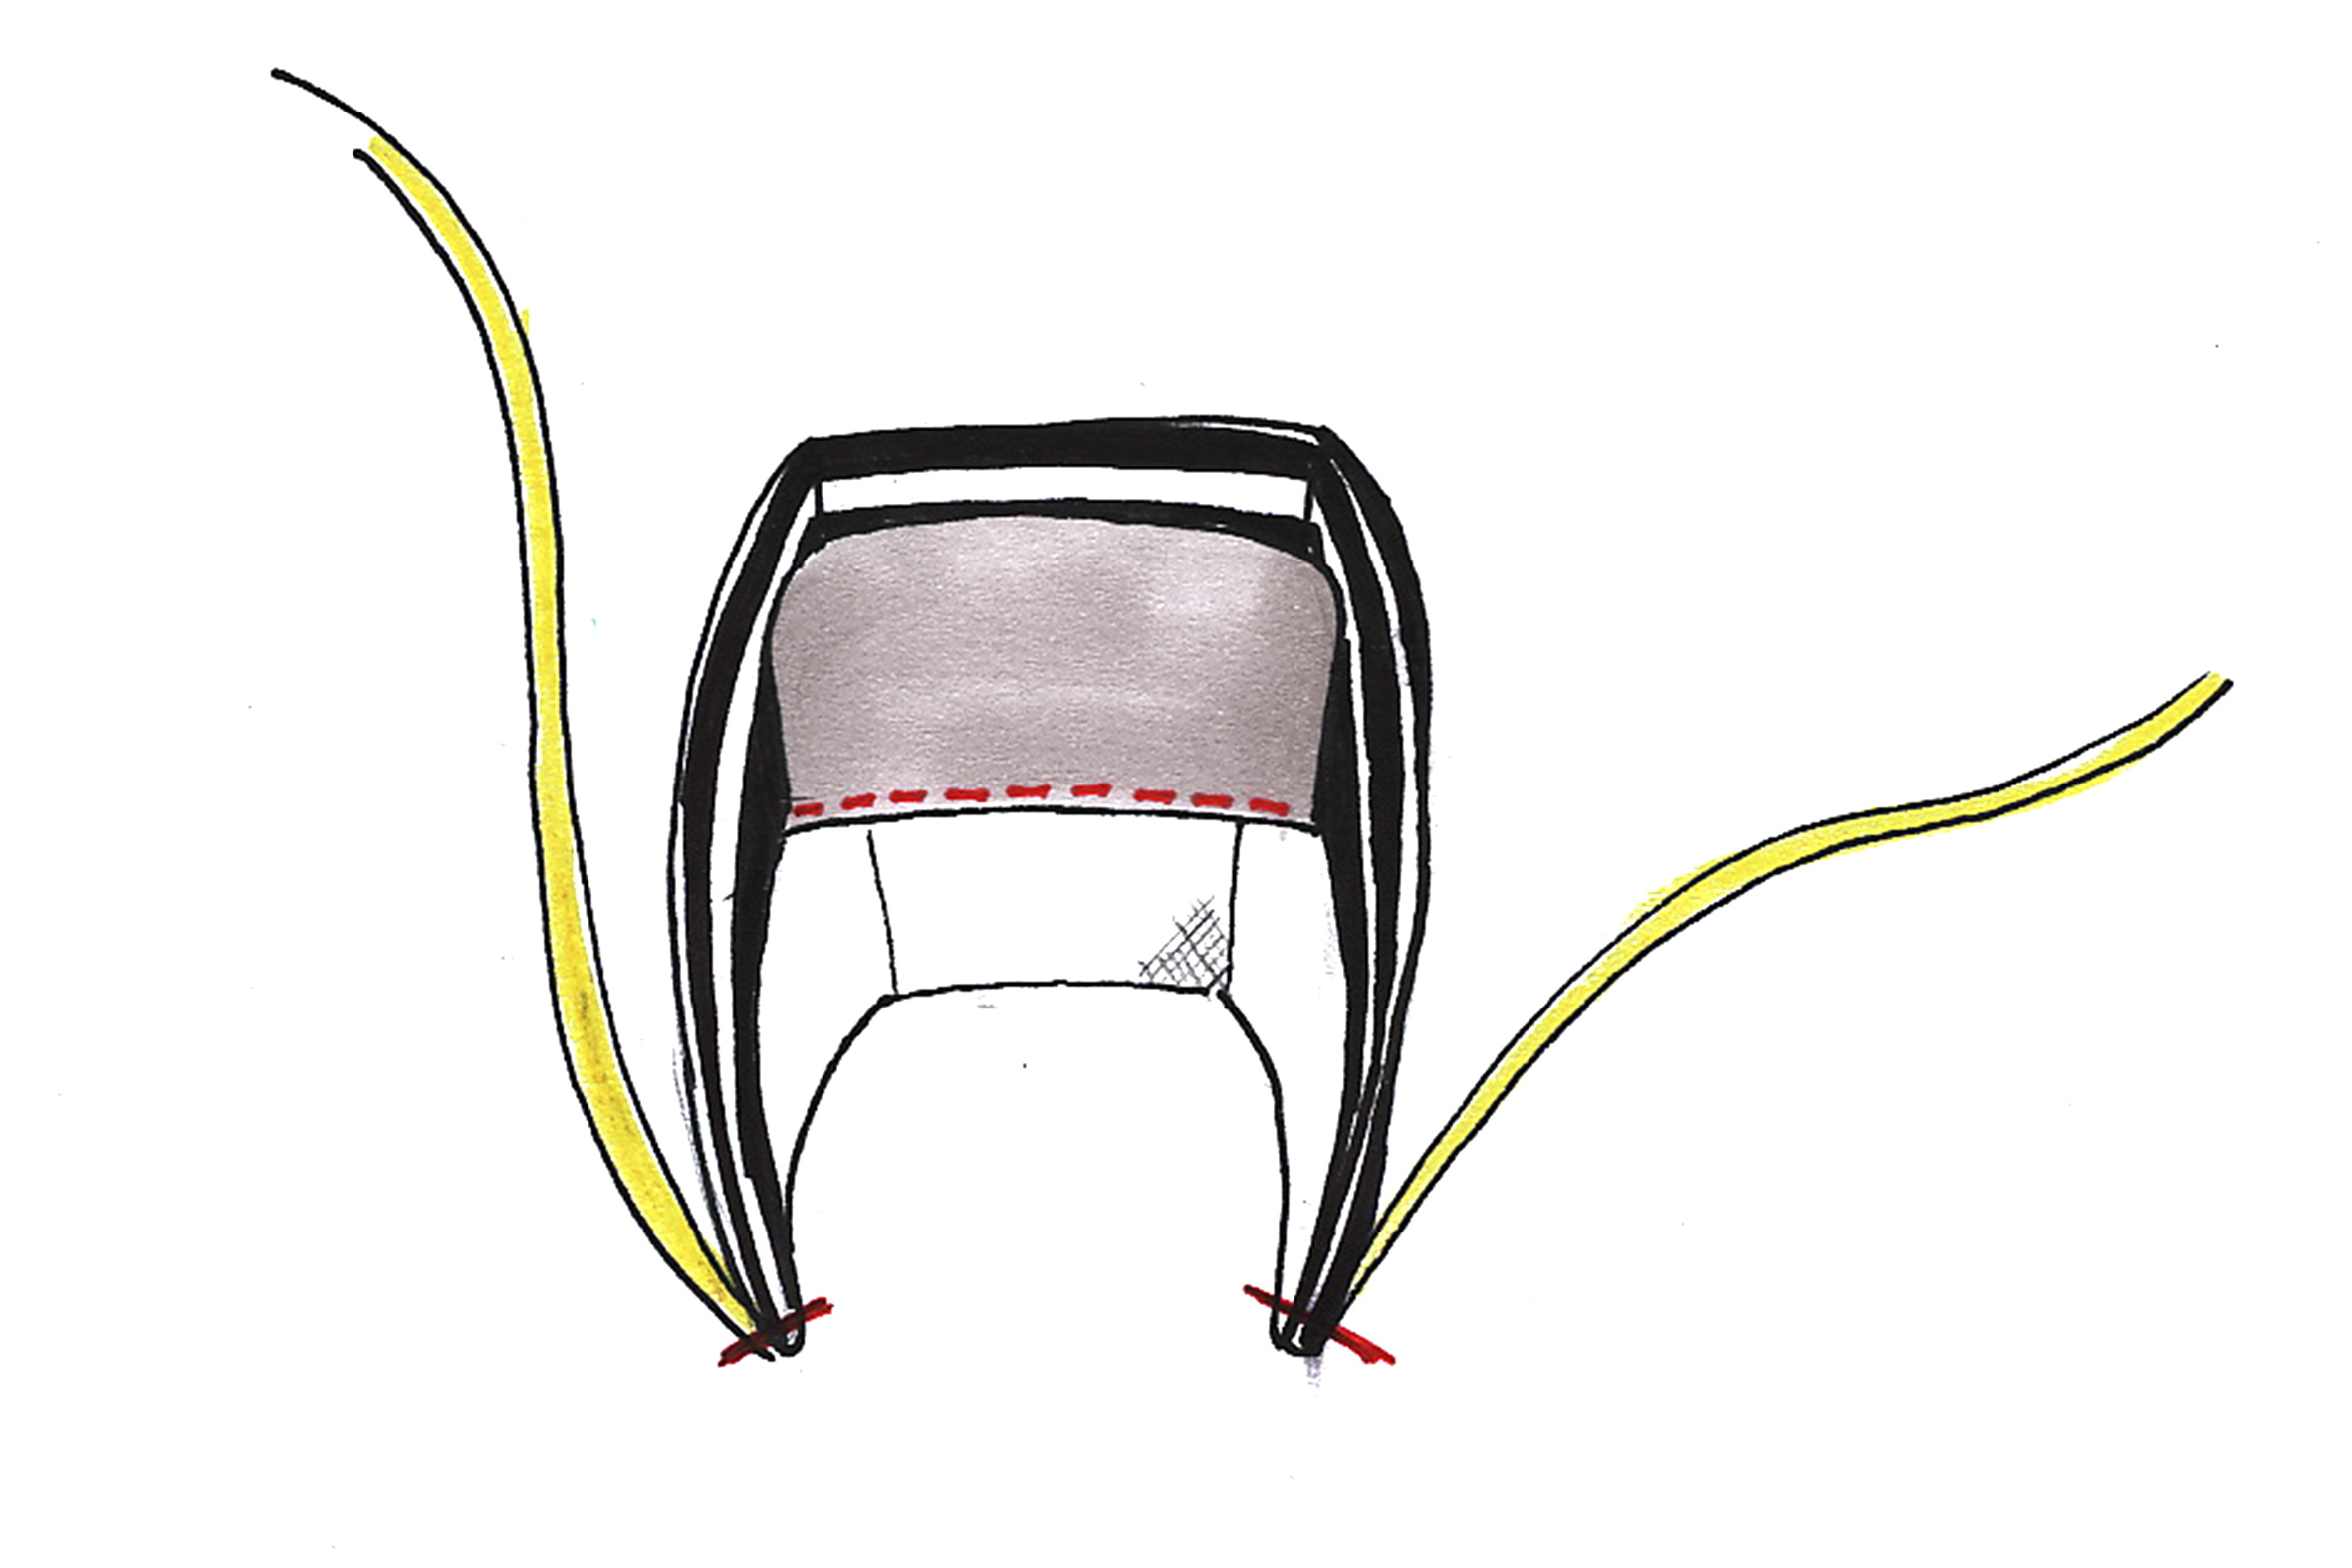
4. Earflap-Cap_004

Sew fabric and lining RSF together (flap and straps should be between this two layers!). Leave the middle part in the back open (as indicated in the drawing). Turn right sides out, through this opening.

5. Earflap-Cap_005

Sew the opening close. Sew the flap to the cap, with a few hand stitches.

Congrats, your done!

That`s how it should look like…

Hut_002

share your procject with me… I would love to see your Caps.

https://www.facebook.com/fliegfederfrei

Baby Bandana Bib Tutorial + Free Pattern

Bandana8

I used a ton of baby bandanas since my baby is here. They`re so useful and look really darling. I became one as a baby shower gift. I didn`t want to buy a few more, so I drafted a pattern and sewed them up myself. Today i wanna share my pattern with you. They`re tried and trusted by me.

You`ll need

ImageI use knit fabric. It`s soft and nice around baby’s neck. But it`s also possible to sew this bandana bib in a woven fabric. You want need a lot of fabric. It`s a great project to use your scraps!

1. Rights sides facing

ImageFold the ribbon in half, place it between the fabrics. Attach it with a few stitches, so there isn`t any shifting while  sewing with the serger.

2. Lay your fabric under the machine

ImageI use my serger for all knits, if you don`t have one. Insert a ballpoint needle to your sewing machine and set to a narrow zigzag stitch. Stitch all around, be sure to space open to turn inside out.

ImageThat`s how it should look so far. Now turn, right side out. And press well.

Image

3. Close the space you let open by some handstitching

Image

4. Apply the velcro fastener

ImageThe small one on the outside right. And the bigger one on the inside left. If you do so, your bib is gonna be reversible.


ImageYour done! That`s it! Because they`re so fast to sew. I`ve got quite a number of those bibs. So I have always the right one to complete her outfit.

Image


Image

Download the Pattern here.