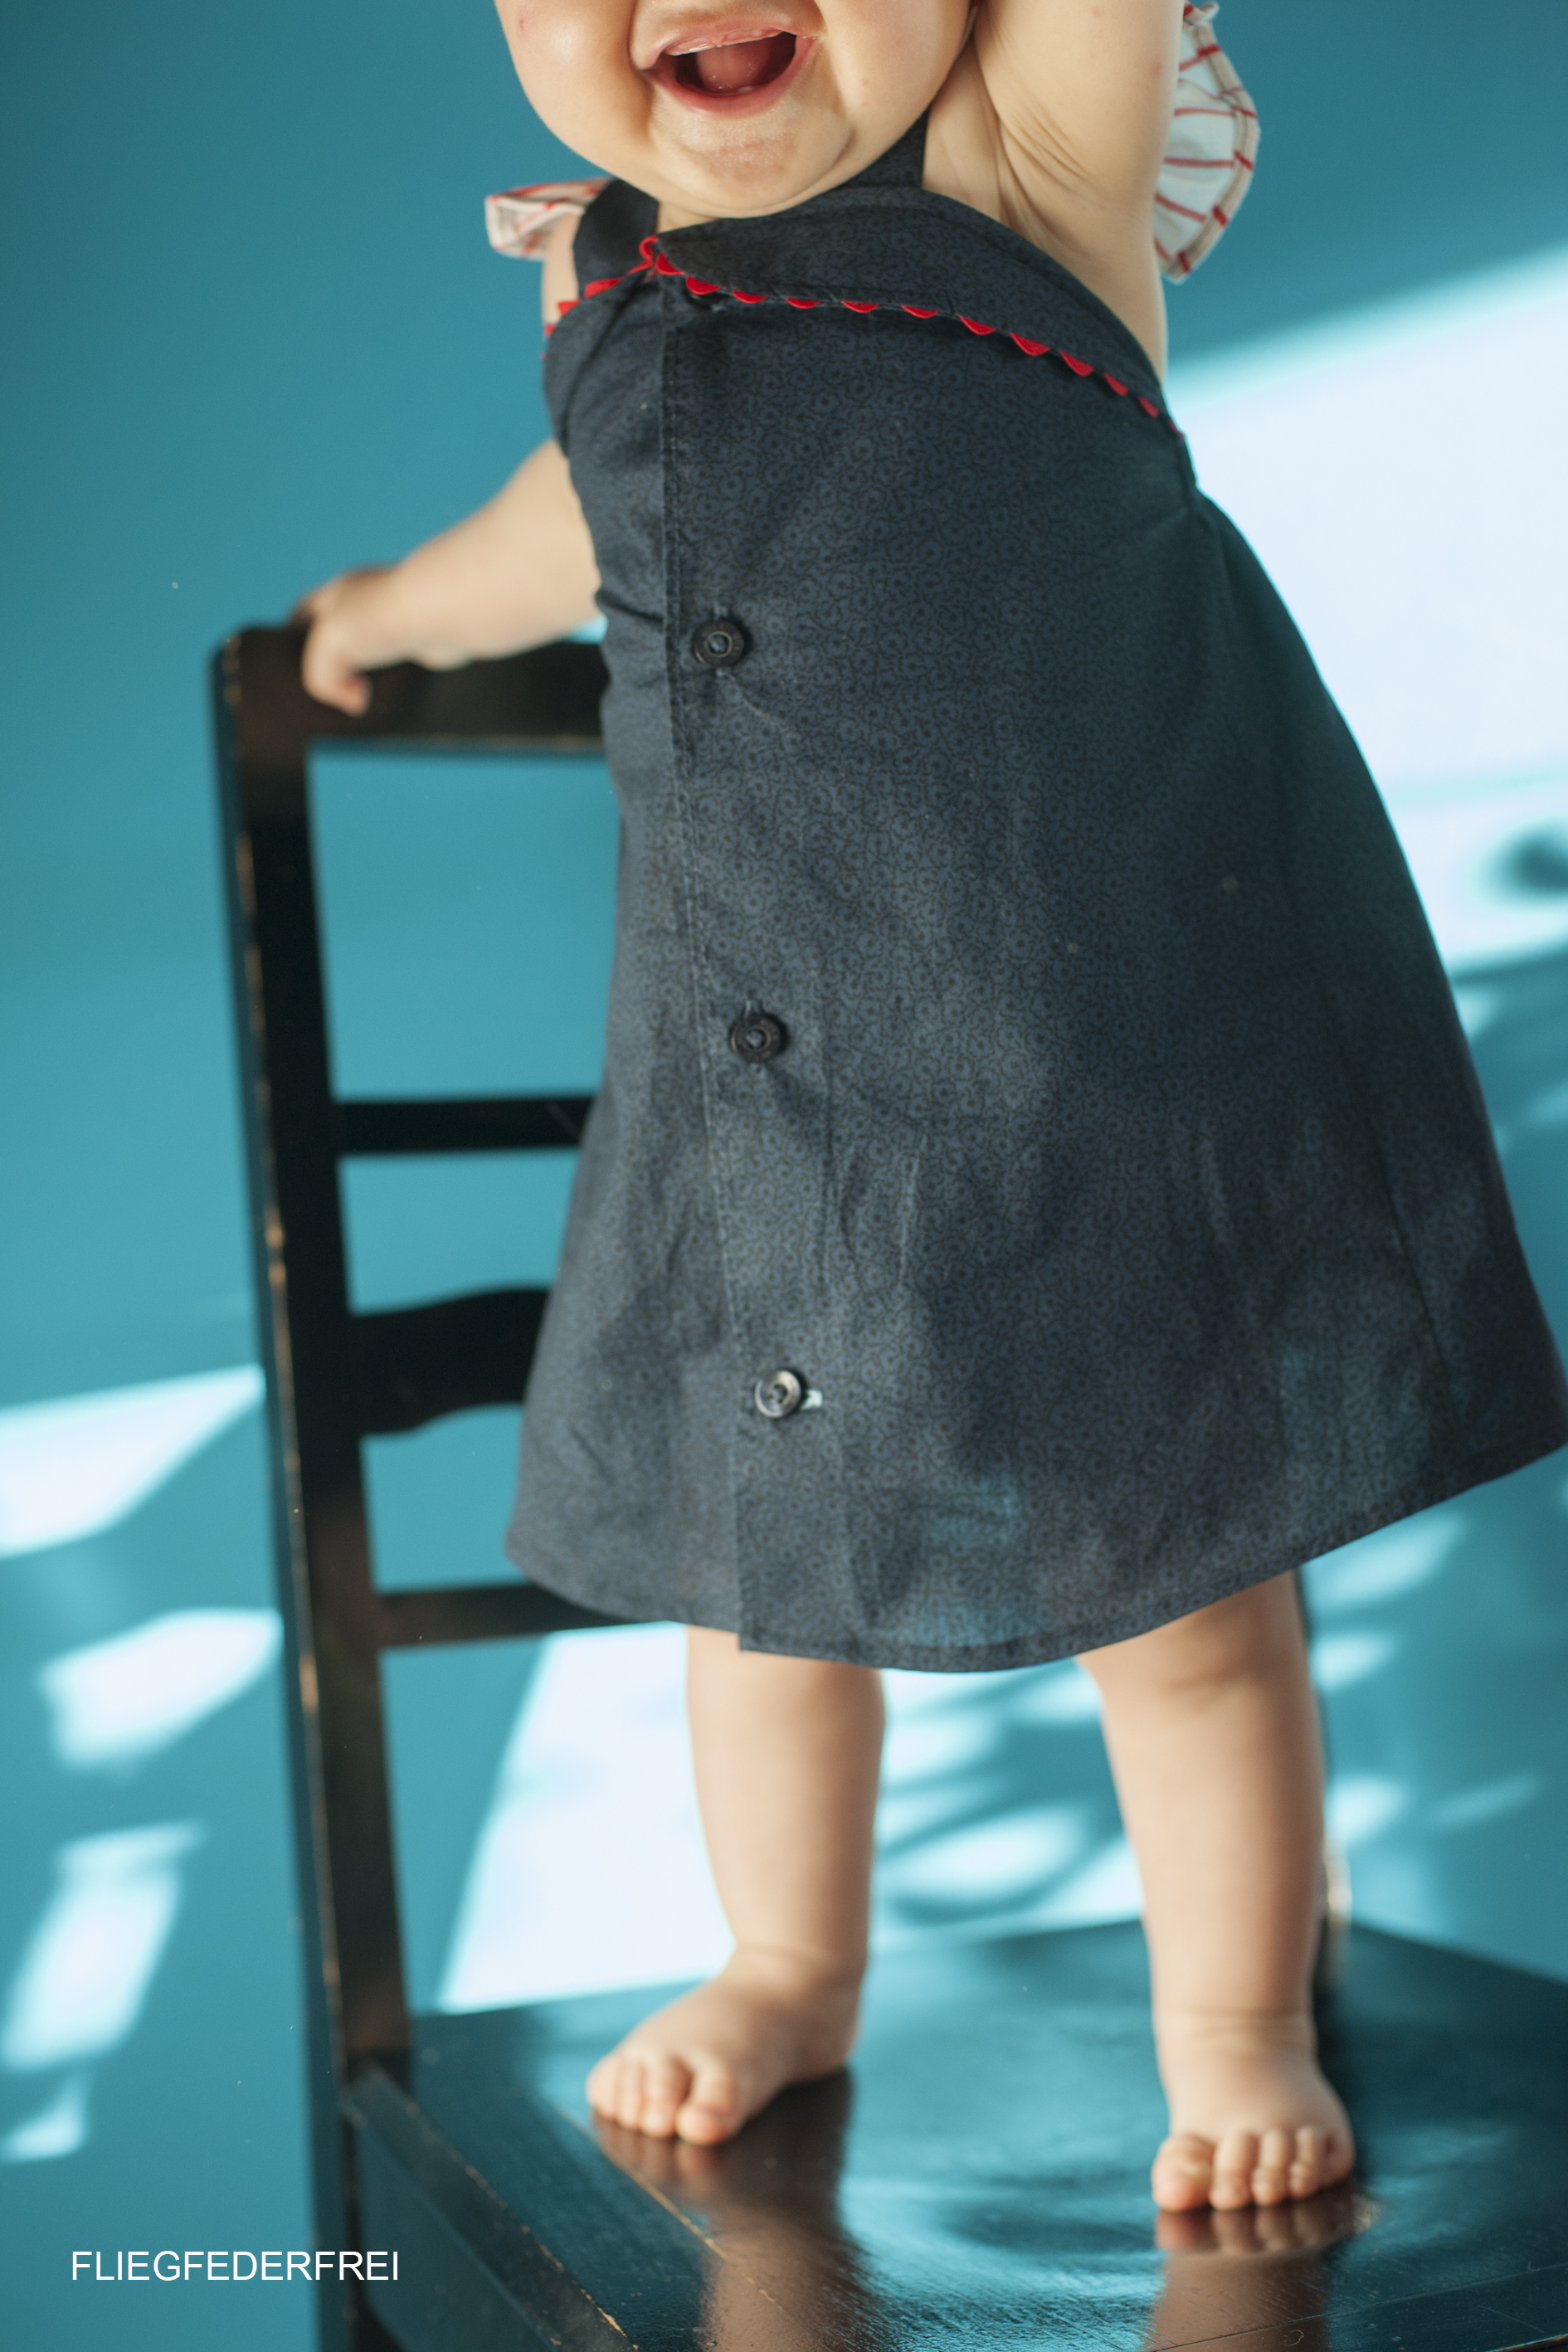
My dad, donated his old button down. He wasn`t just happy about the deal. He expressly underlined that he still wears this, at least once a year. But, hey dad, look at that. Isn`t it darling? I think he`ll be pleased with the new utilization.
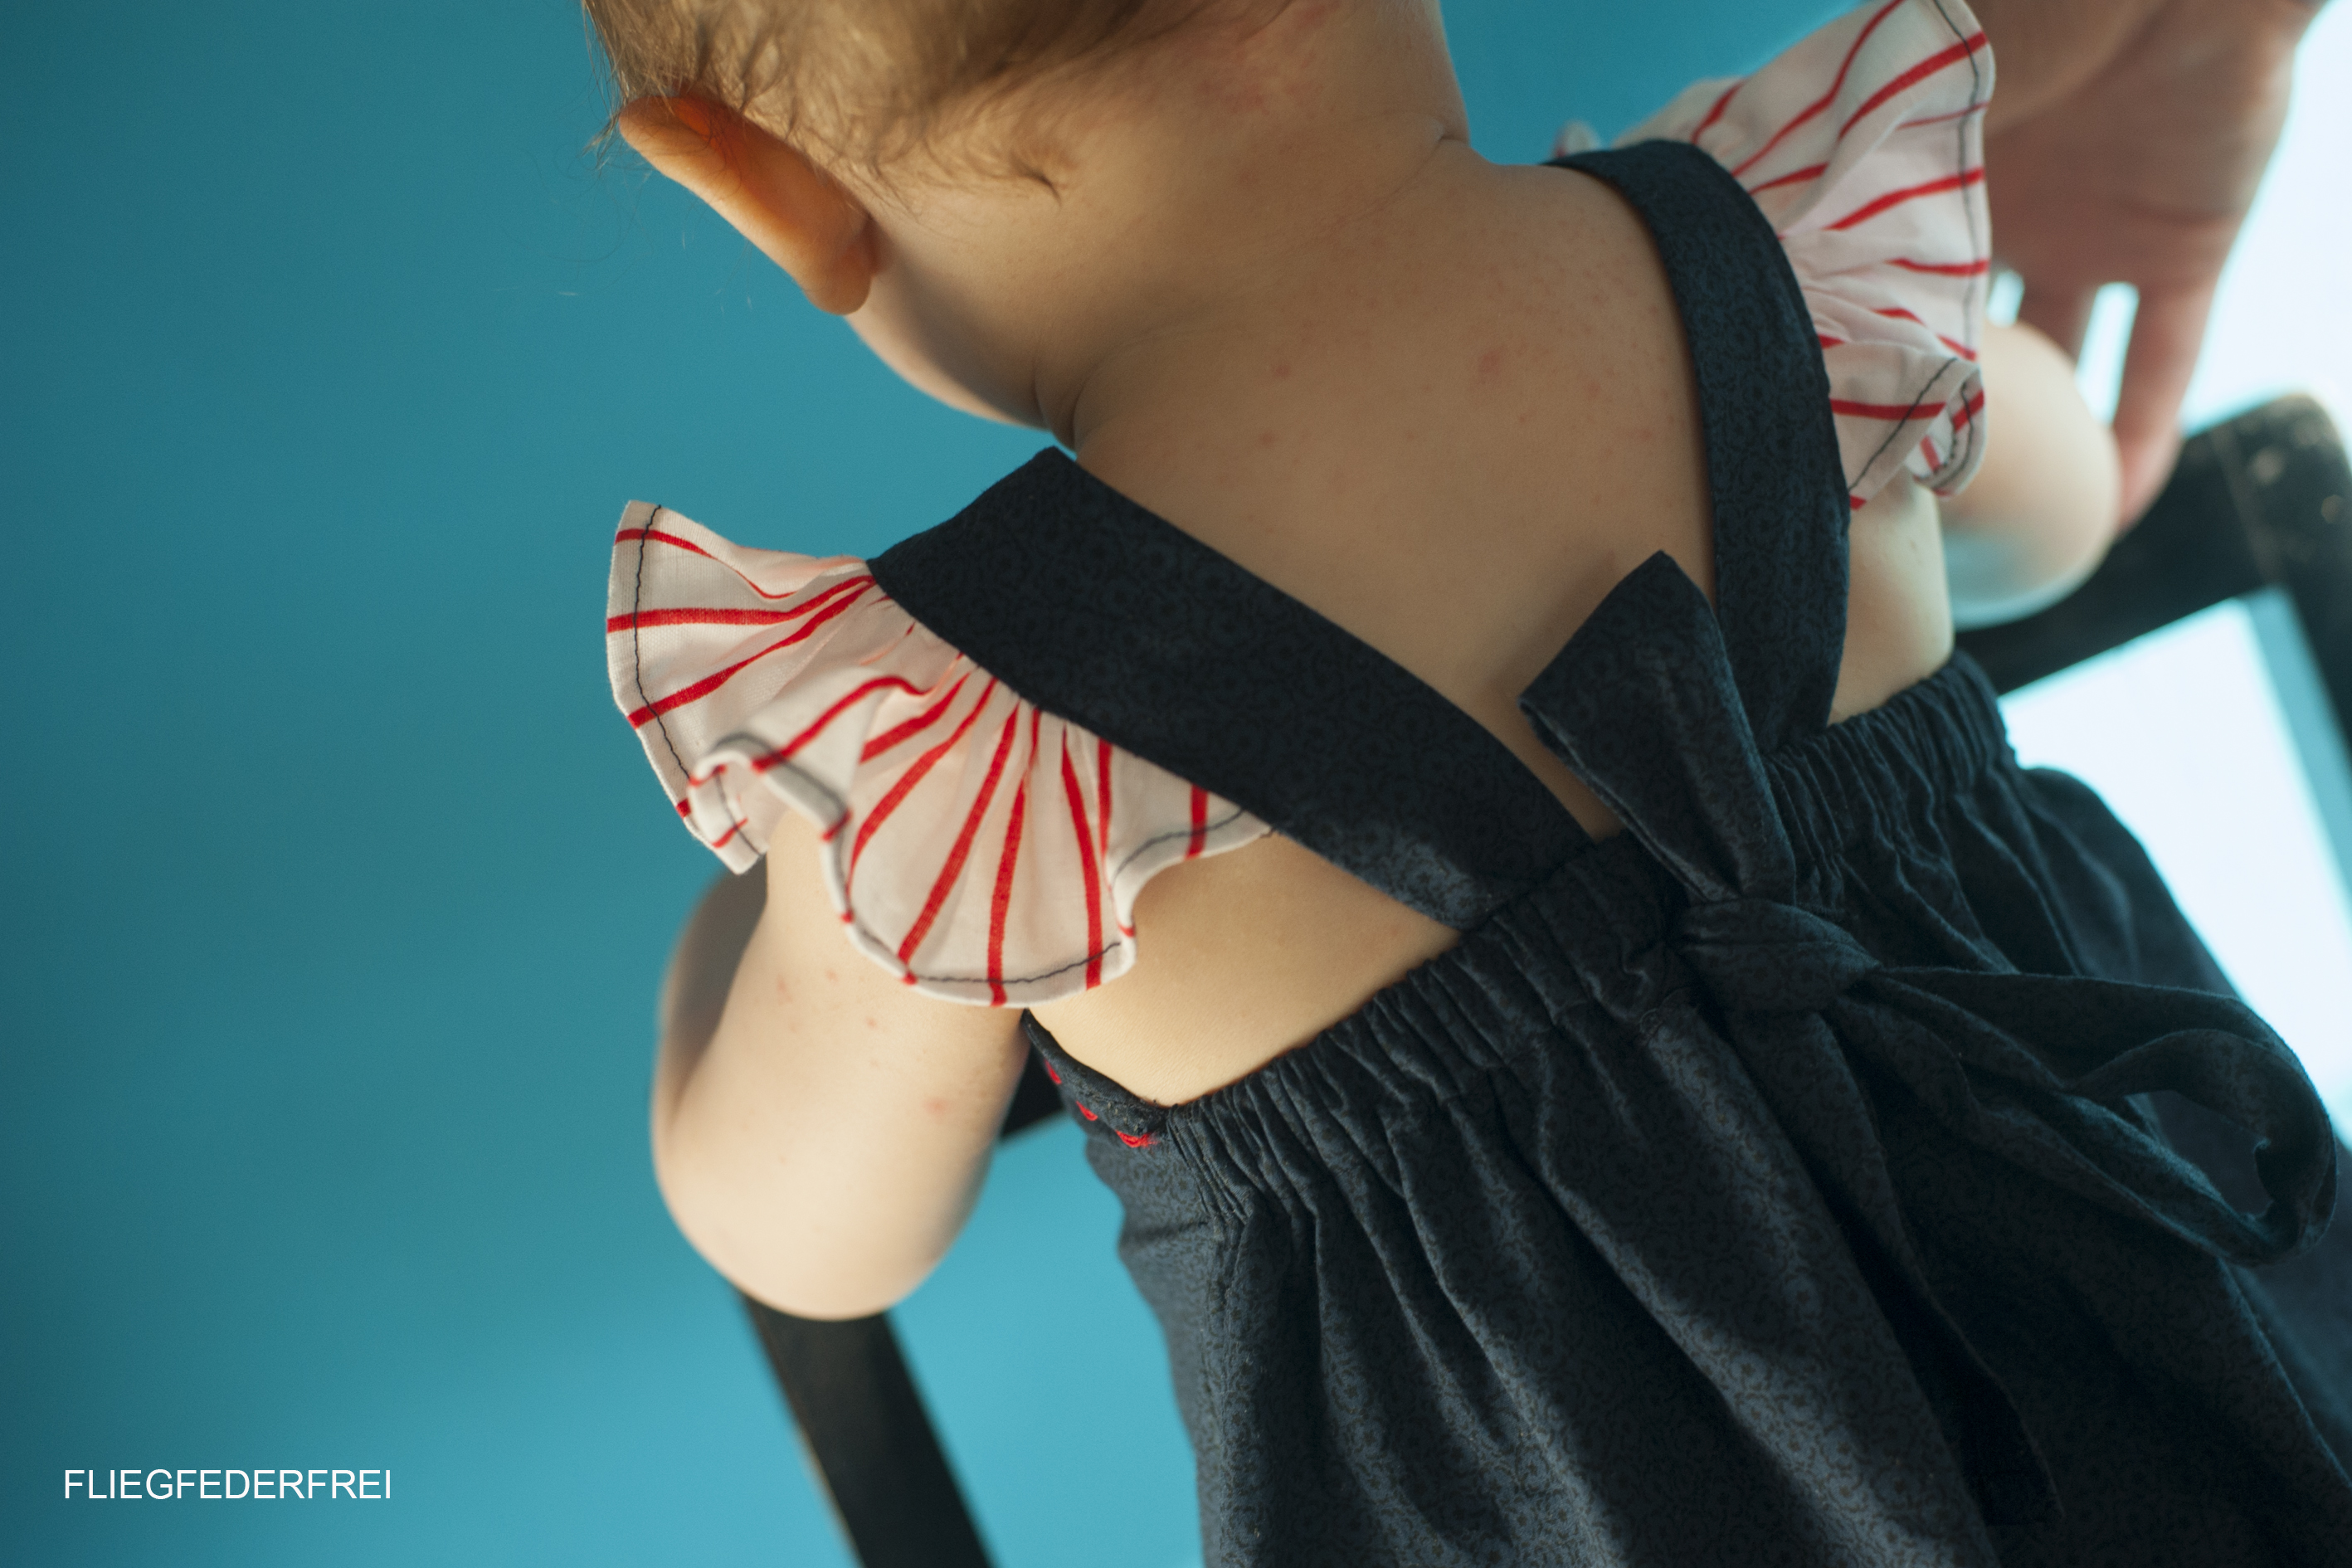
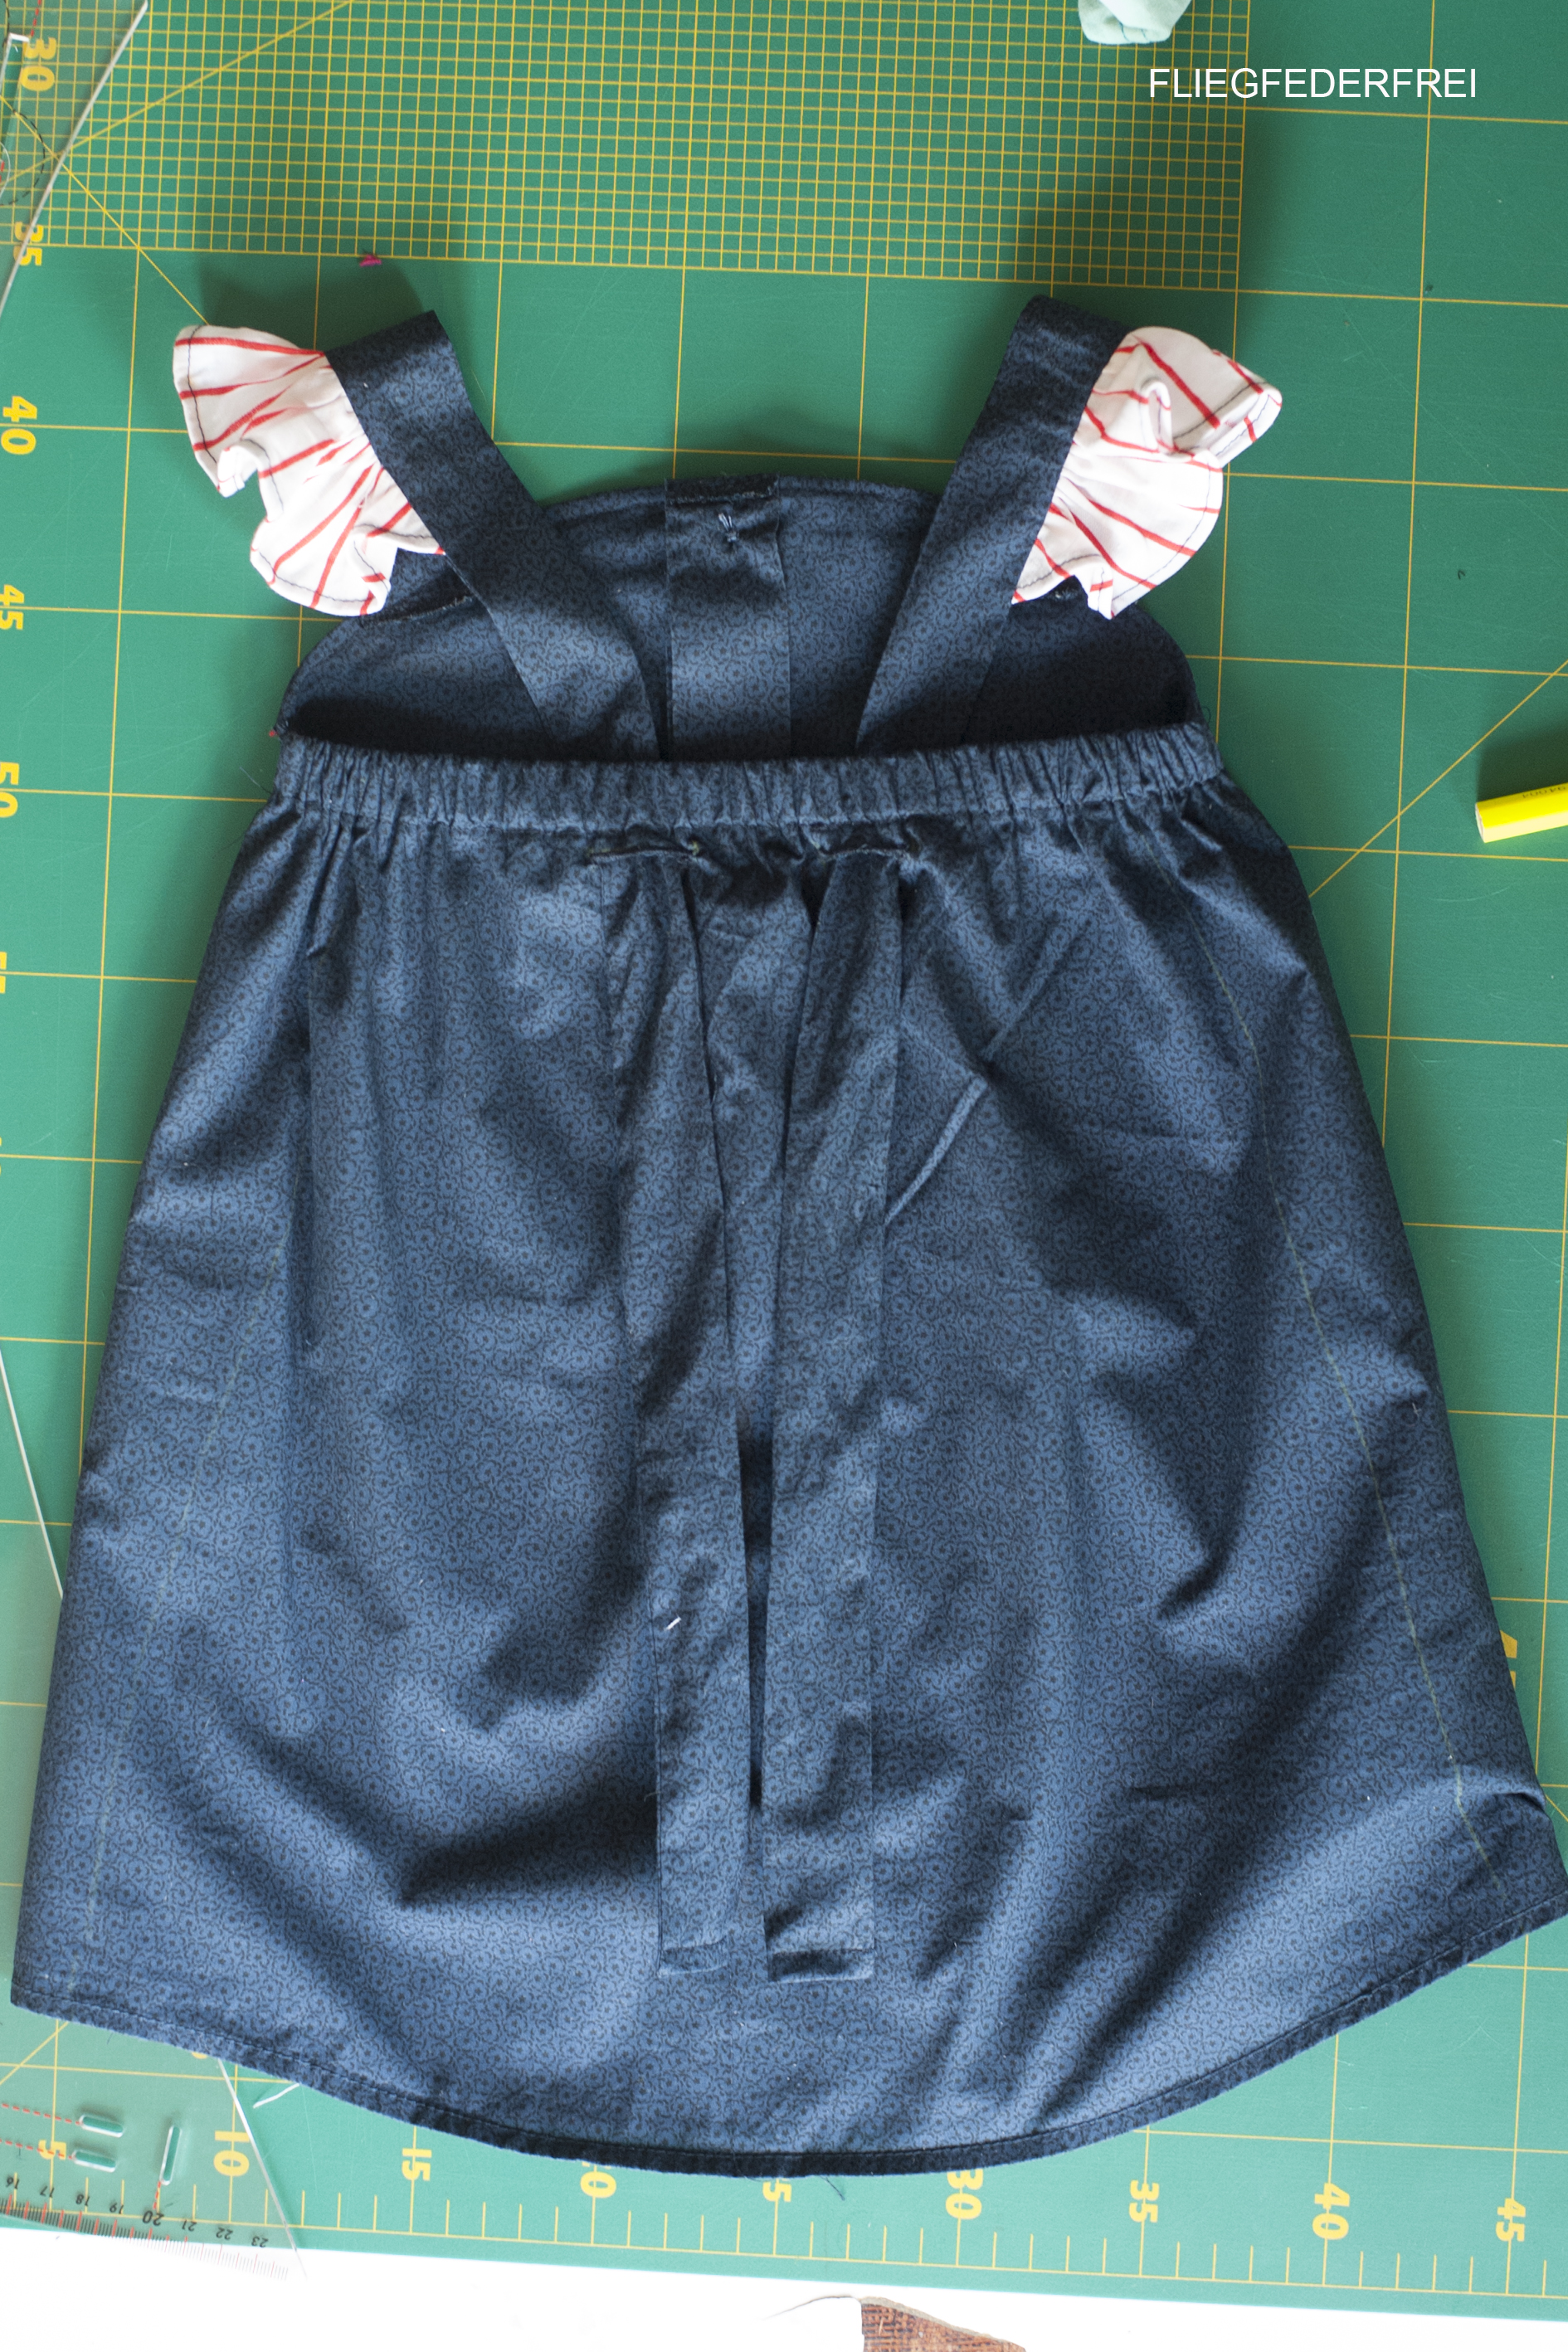
I like it from the back view. I went for ruffles. If you know me better, you`re conscious that, it isn`t really my thing. But, when it comes to ruffles, I like them big. Because baby`s skin is so sensitive, I needed something to cover up her shoulders. And it adds an extra pop of color.
The straps are ending in a bow, looks special, but it`s so easy to do!
Because I love to refashion old stuff and I think it is important to go easy on resources. I wanna show you, how to do it yourself. It`s quite easy. And it`s simple to make it your own. 

I think everybody has a disused shirt. It`s so fun to reanimate it for your little one.
Linked up at

So let`s go! Here comes the tutorial
1. Step create the front piece
Take a well-fitting t-shirt as a guide for the size. I made an A-line skirt so I drew a line from the armhole down to the hem. As indicated in the picture.

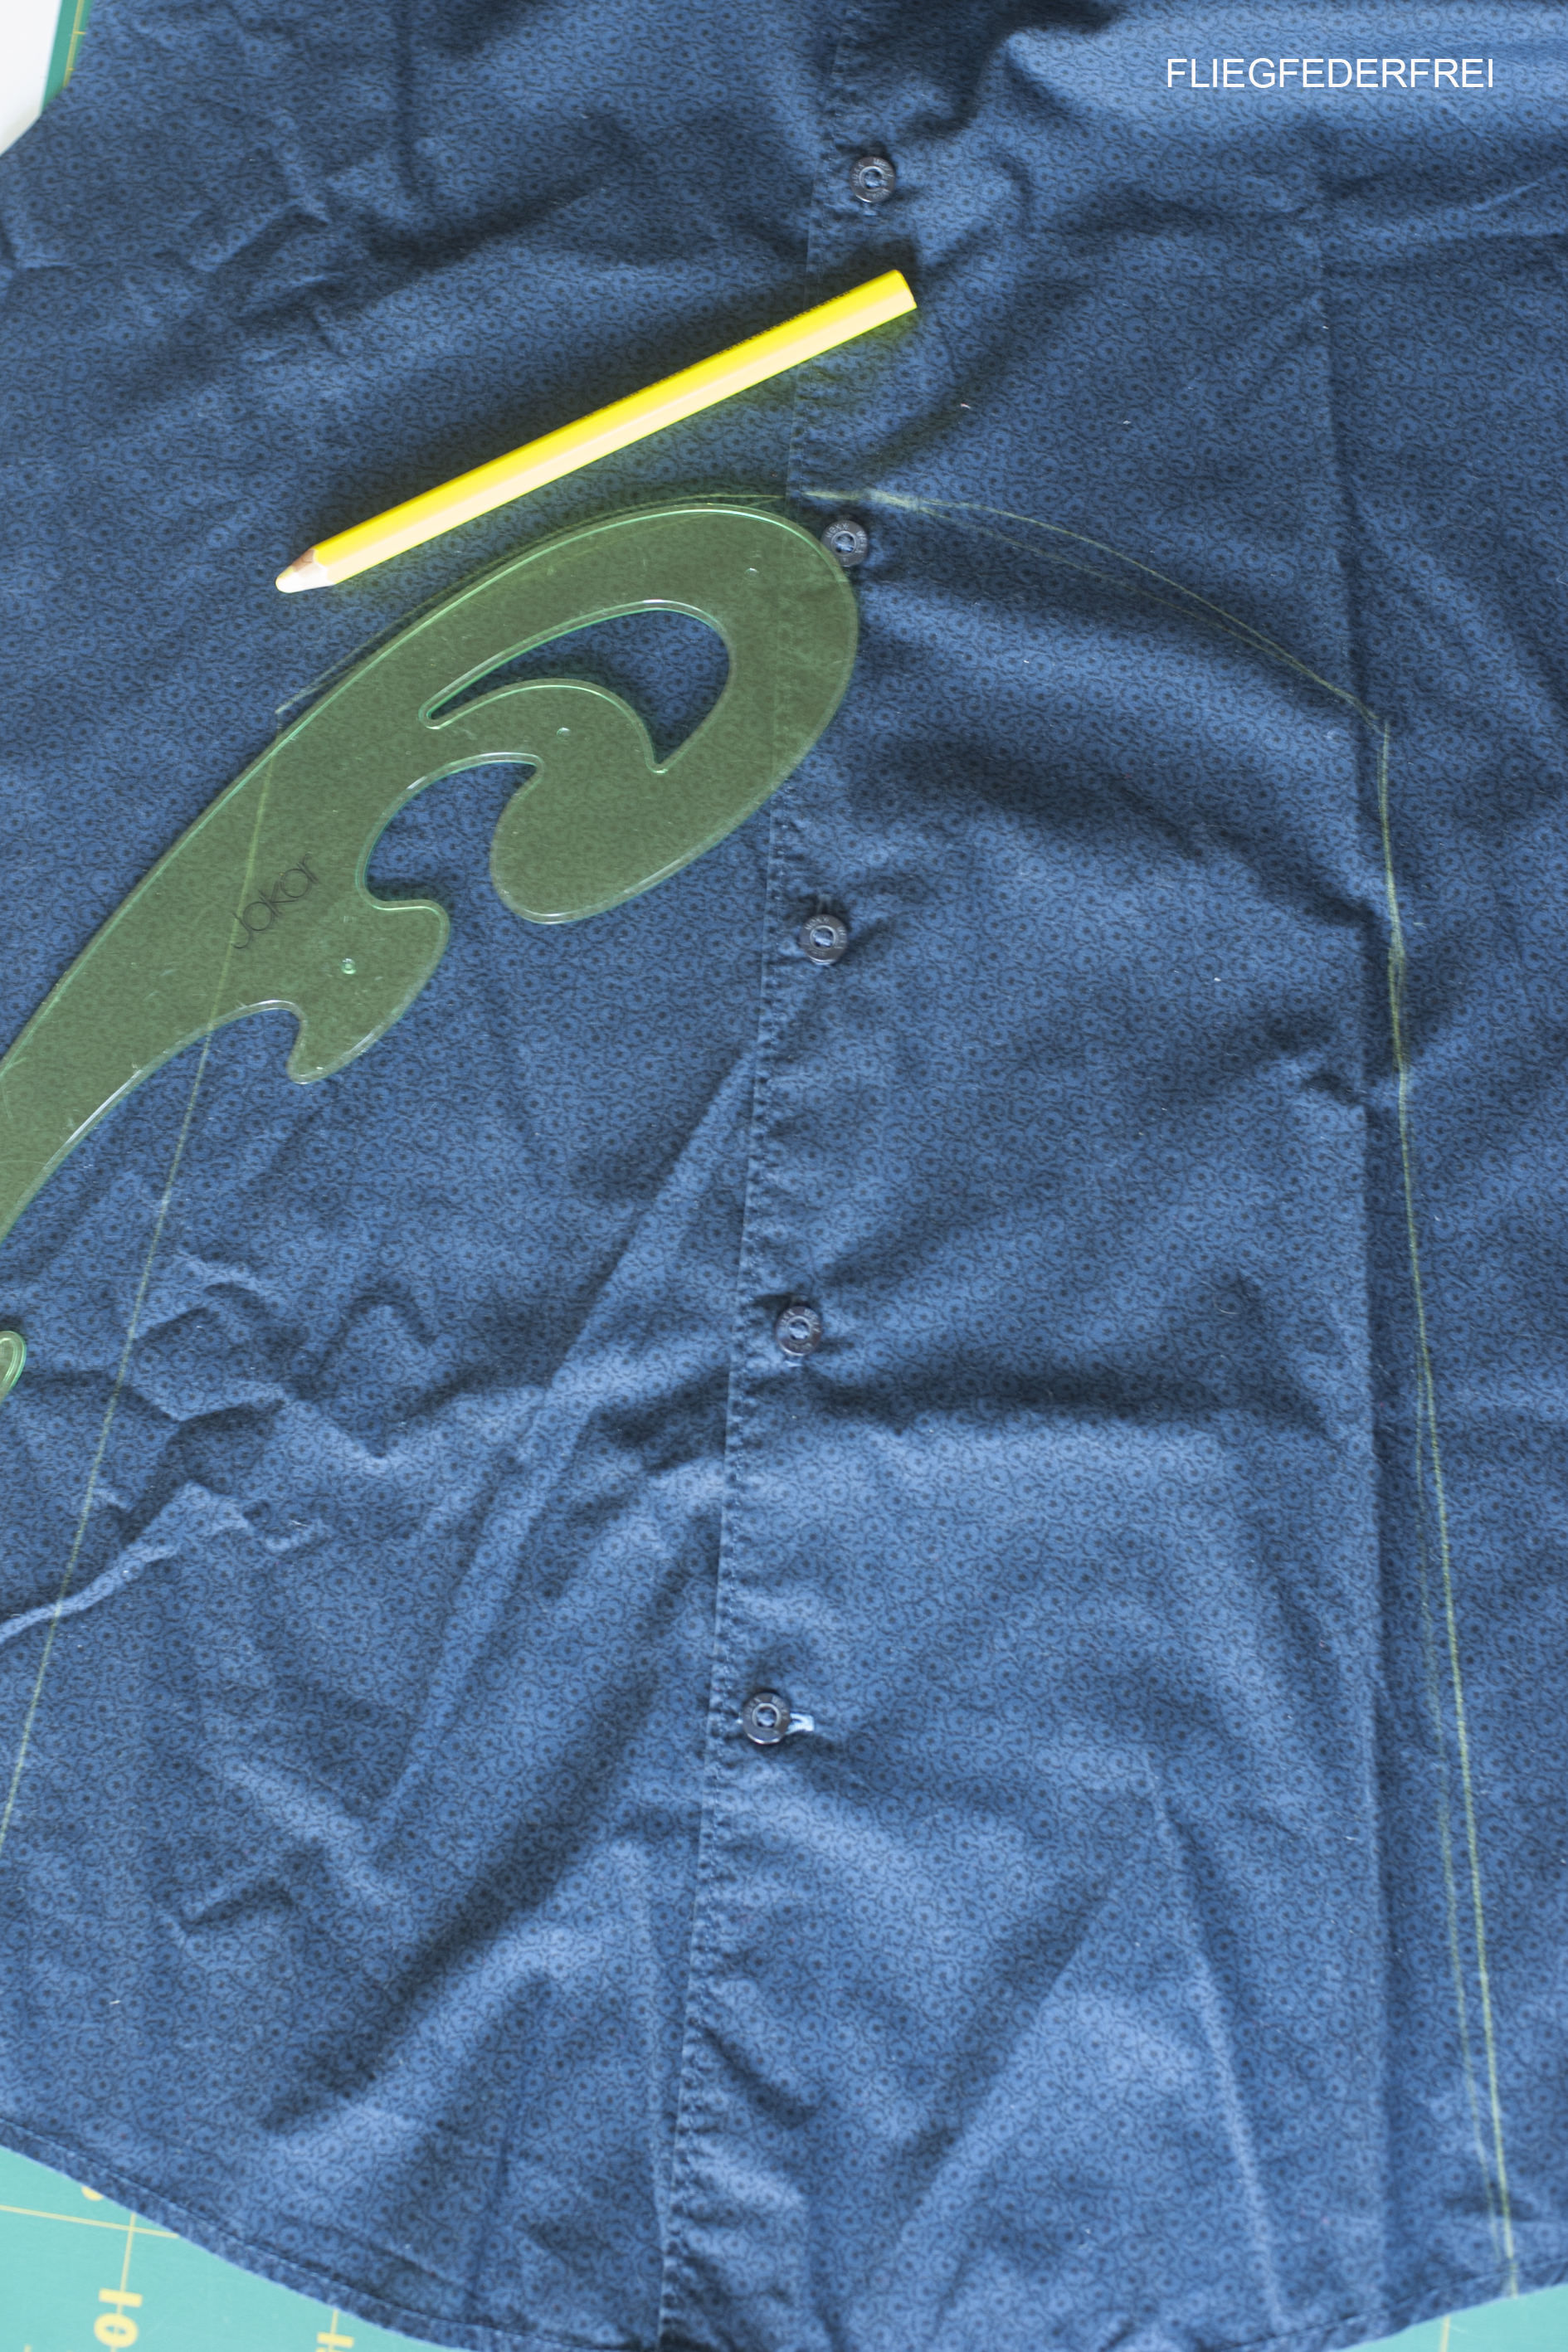
Draft a line to create the bodice. I used a french curve, but don`t worry about that, just draw it by hand if you like to. Be sure that the line isn`t above the neckline of your t-shirt. And make sure there is a button on the top of your piece. You want it to close neatly on the neckline. If you cut it out don`t forget to add some seam allowance.
2. Step create the back piece
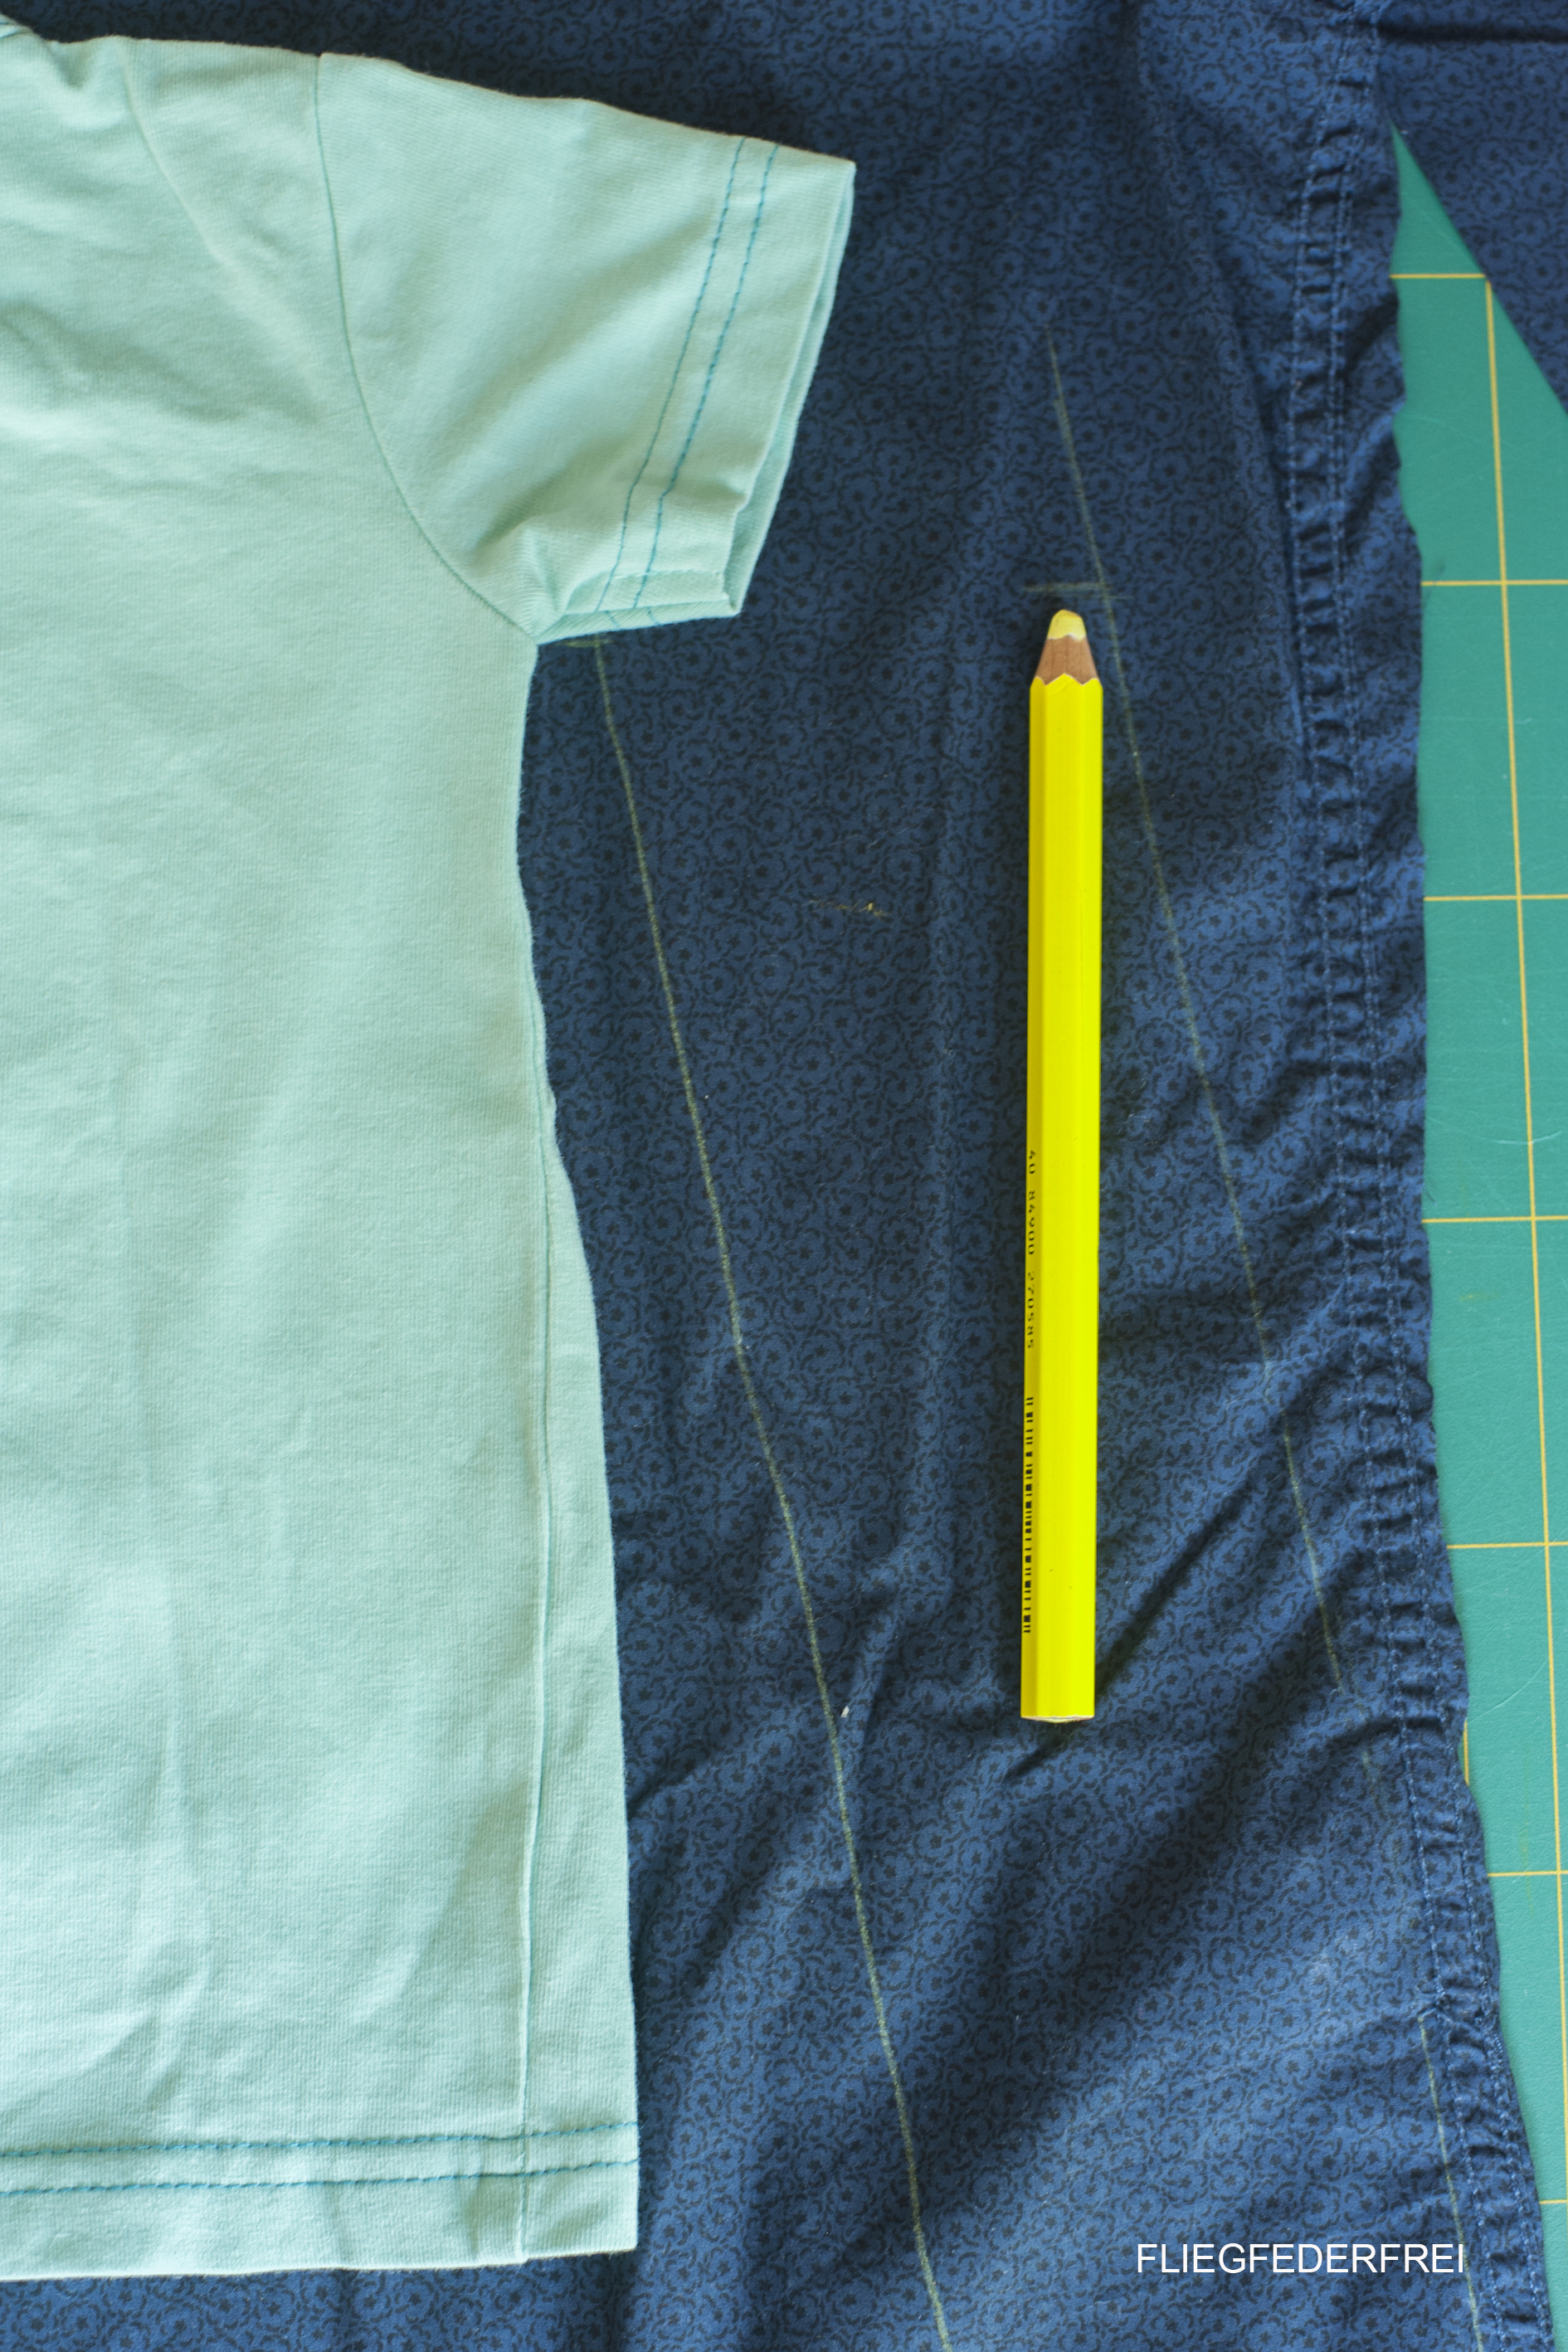
Here I marked the outline of the front piece again (first line on the picture). Then I just attached around 10 cm, to give to back piece some wideness (Second line on the picture).

Draft a straight line from one side to the other, connecting the to armhole marks. Before you cut it out. be sure to add enough seam allowance to sew a casing for the elastic. (I calculated 3cm).
3. Step cut out the straps
I cut them out of the arms, there will be enough fabric. One is 8 cm width and 57 cm long. Cut two of them.
4. Step cut out the ruffles
I used a different fabric, but there would be enough left from the shirt as well. Make them as big as you like them. Mines are 6cm width and 20 cm long.
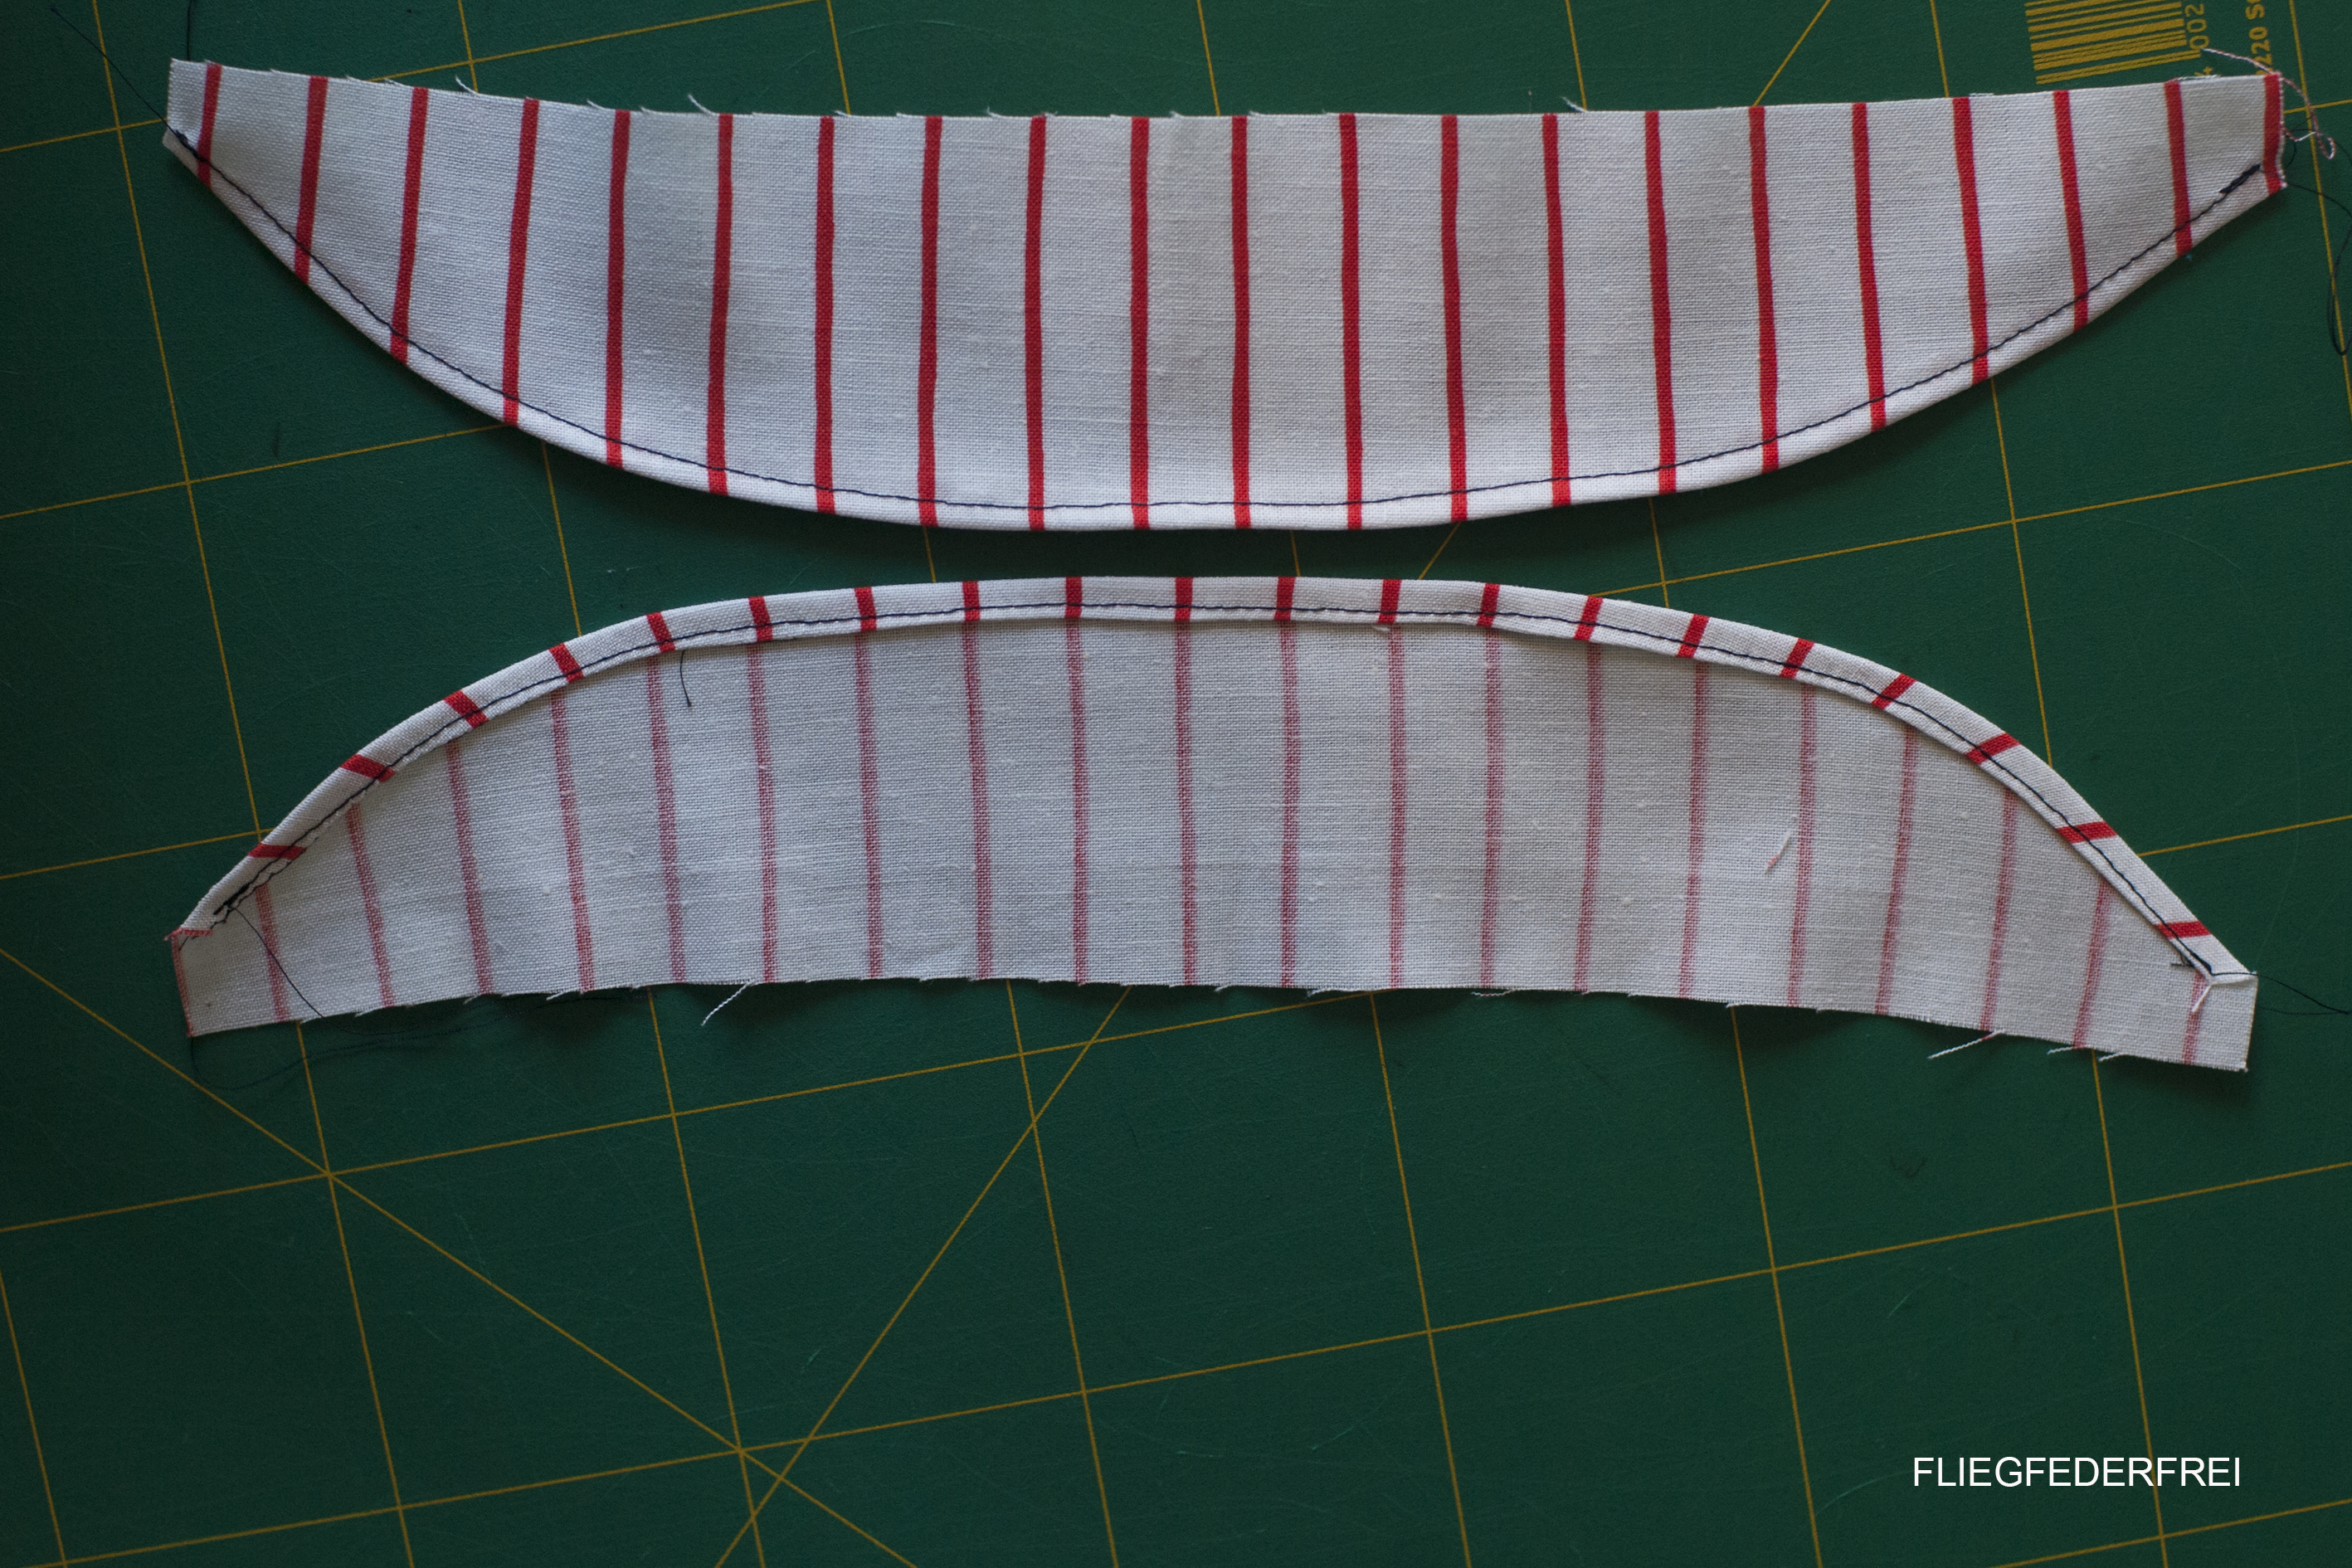
5. Cut two pieces out of the collar, in your prefered shape. We gonna attach them to the front bodice.

That`s what you should have so far.
6. Add the ric-rac to the collar piece.
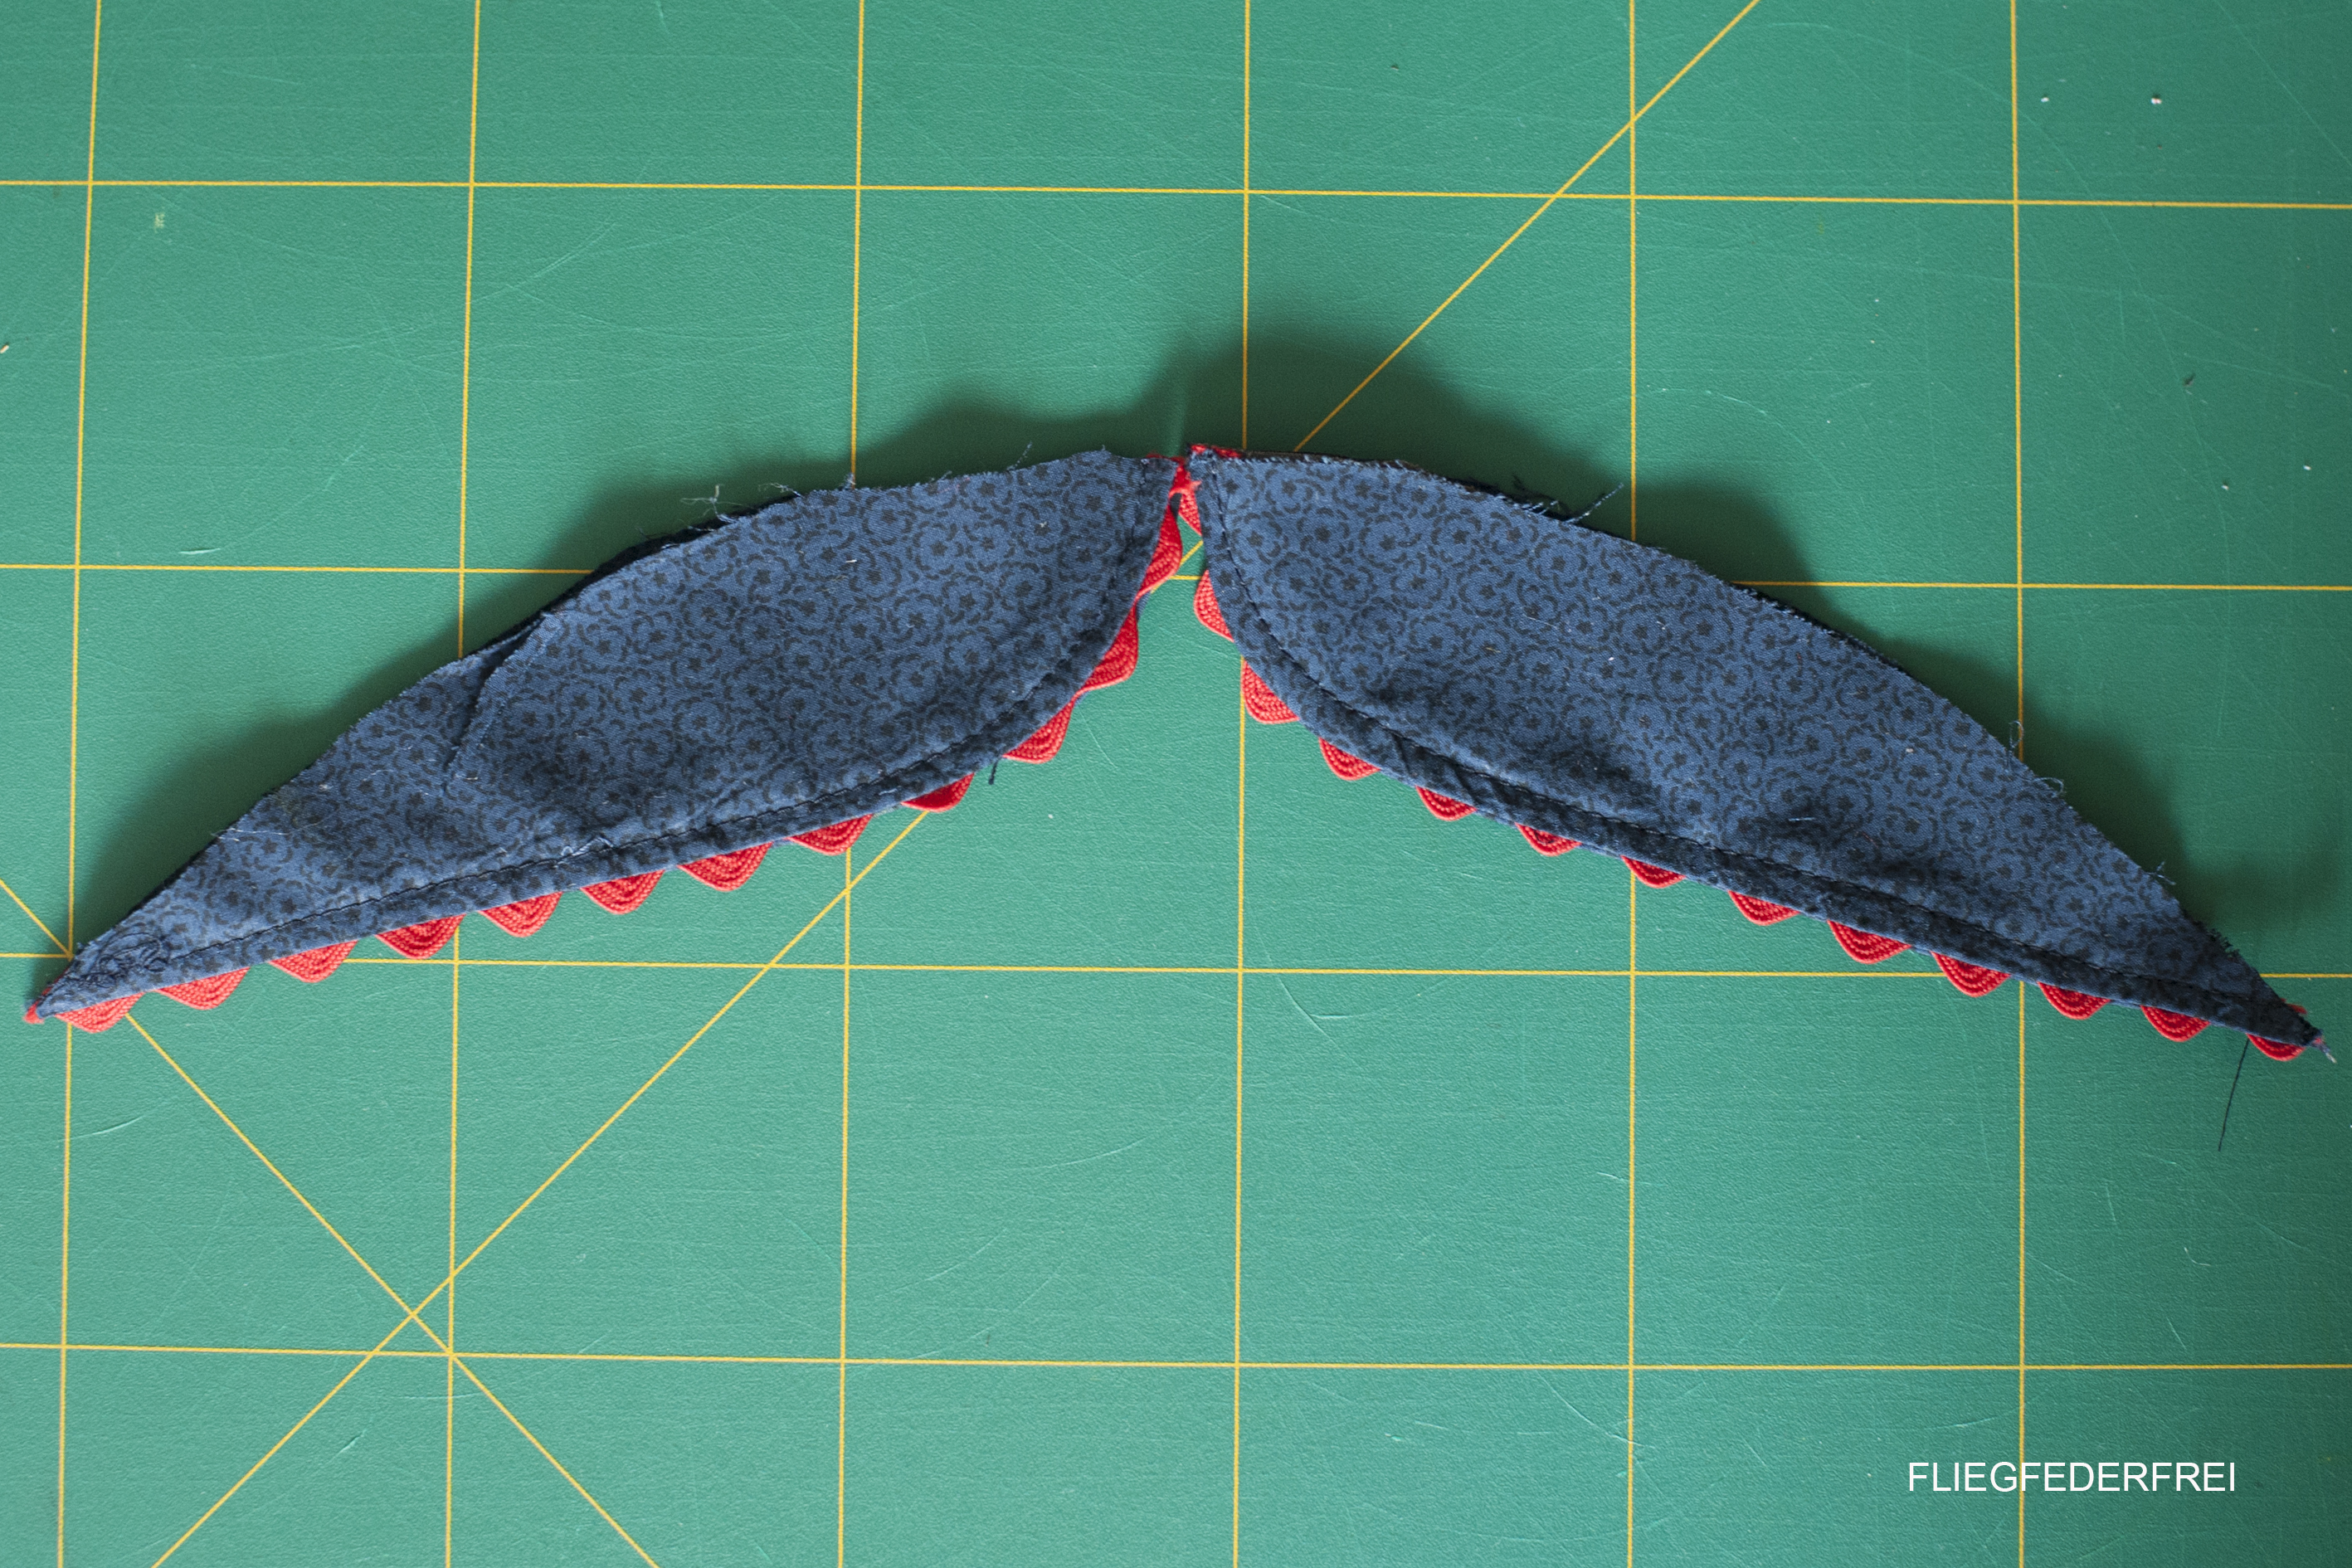
Trim of the old stitching lines from the collar, so you can resew them in your prefered shape. Sew the ric-rac with some basting stitches RSF to one piece of the collar. Set your machine back to a normal stitch and sew the two collar pieces RSF together. Turn right side out, press well and topstitch.
Attach them to the front. The right side of the collar, facing the wrong side of the front bodice. Turn, Press the seam, and topstitch.
7. Step Sew the ruffles to the straps
Make a narrow hem. That`s nothing complicated, I just serge the row edges. Press the serged line to the wrong side, and press it once again to this side. So you can’t see the sergerstitches anymore. Stitch in place.
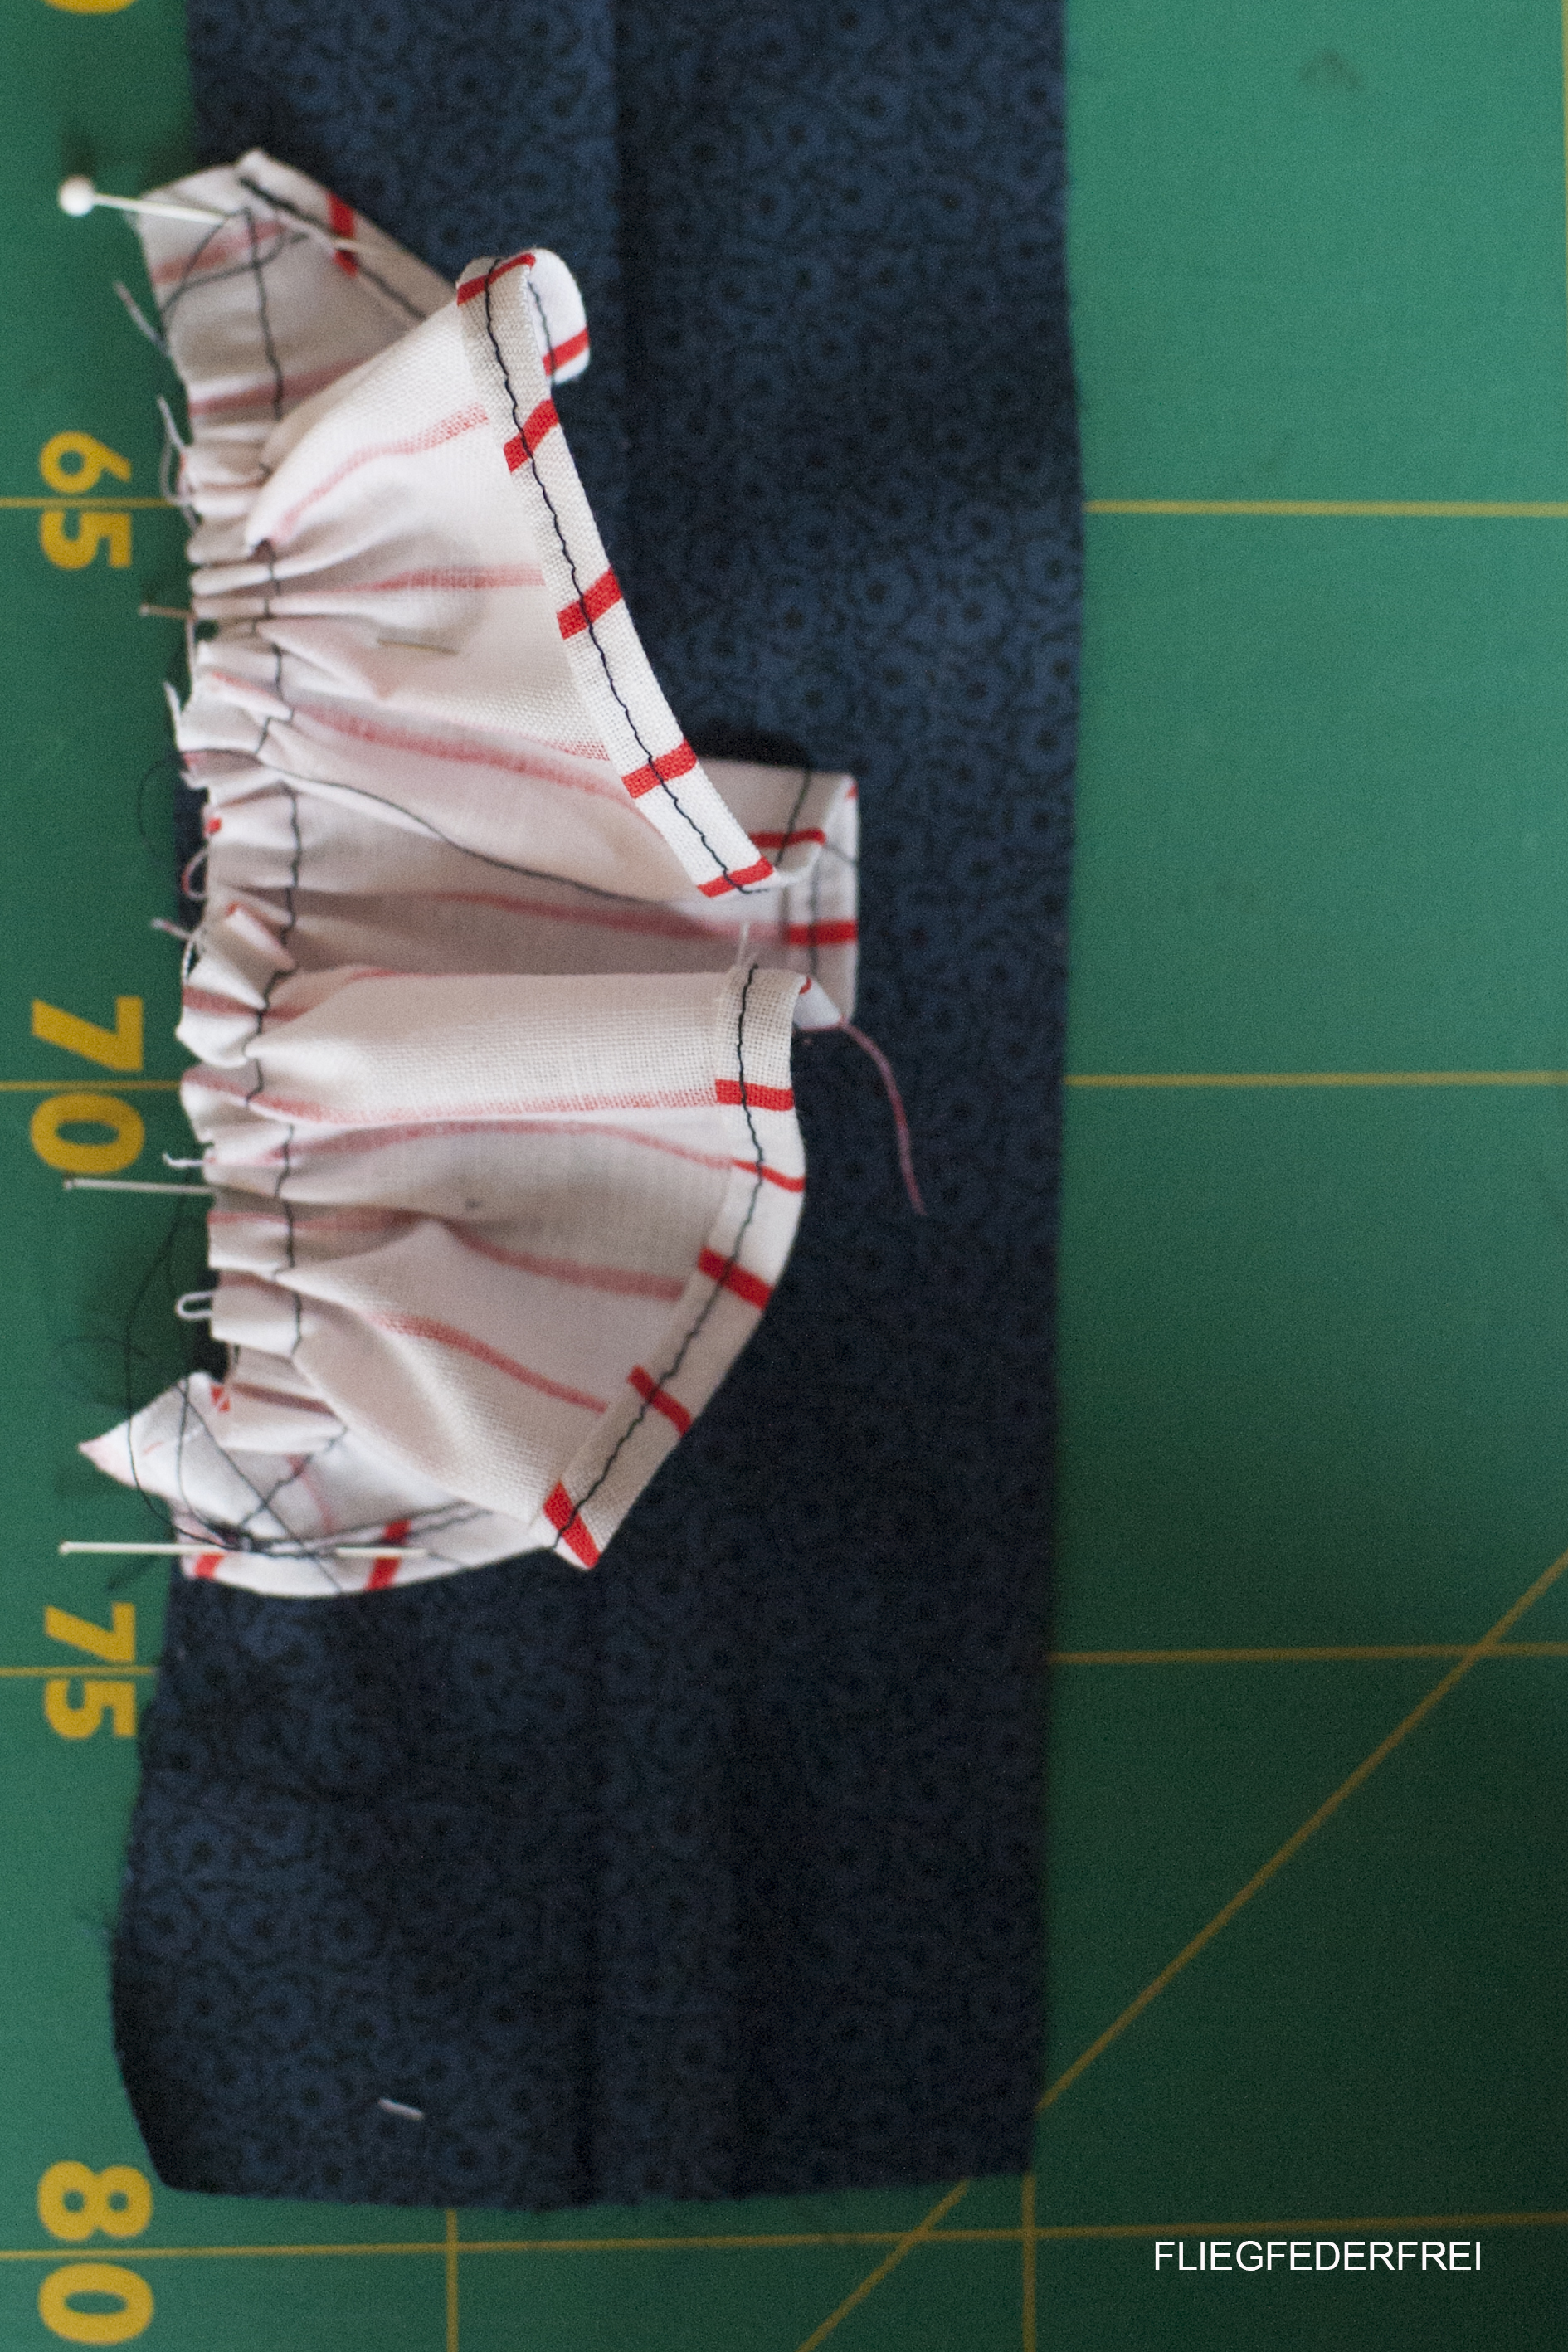
Gather the fabric. Set your machine to the highest stitching length and tension possible. This way, it gathers your fabric right away while your sewing. Leave long treads at the end. By pulling the upper tread, the fabric gathers even more. Attach them to the straps.
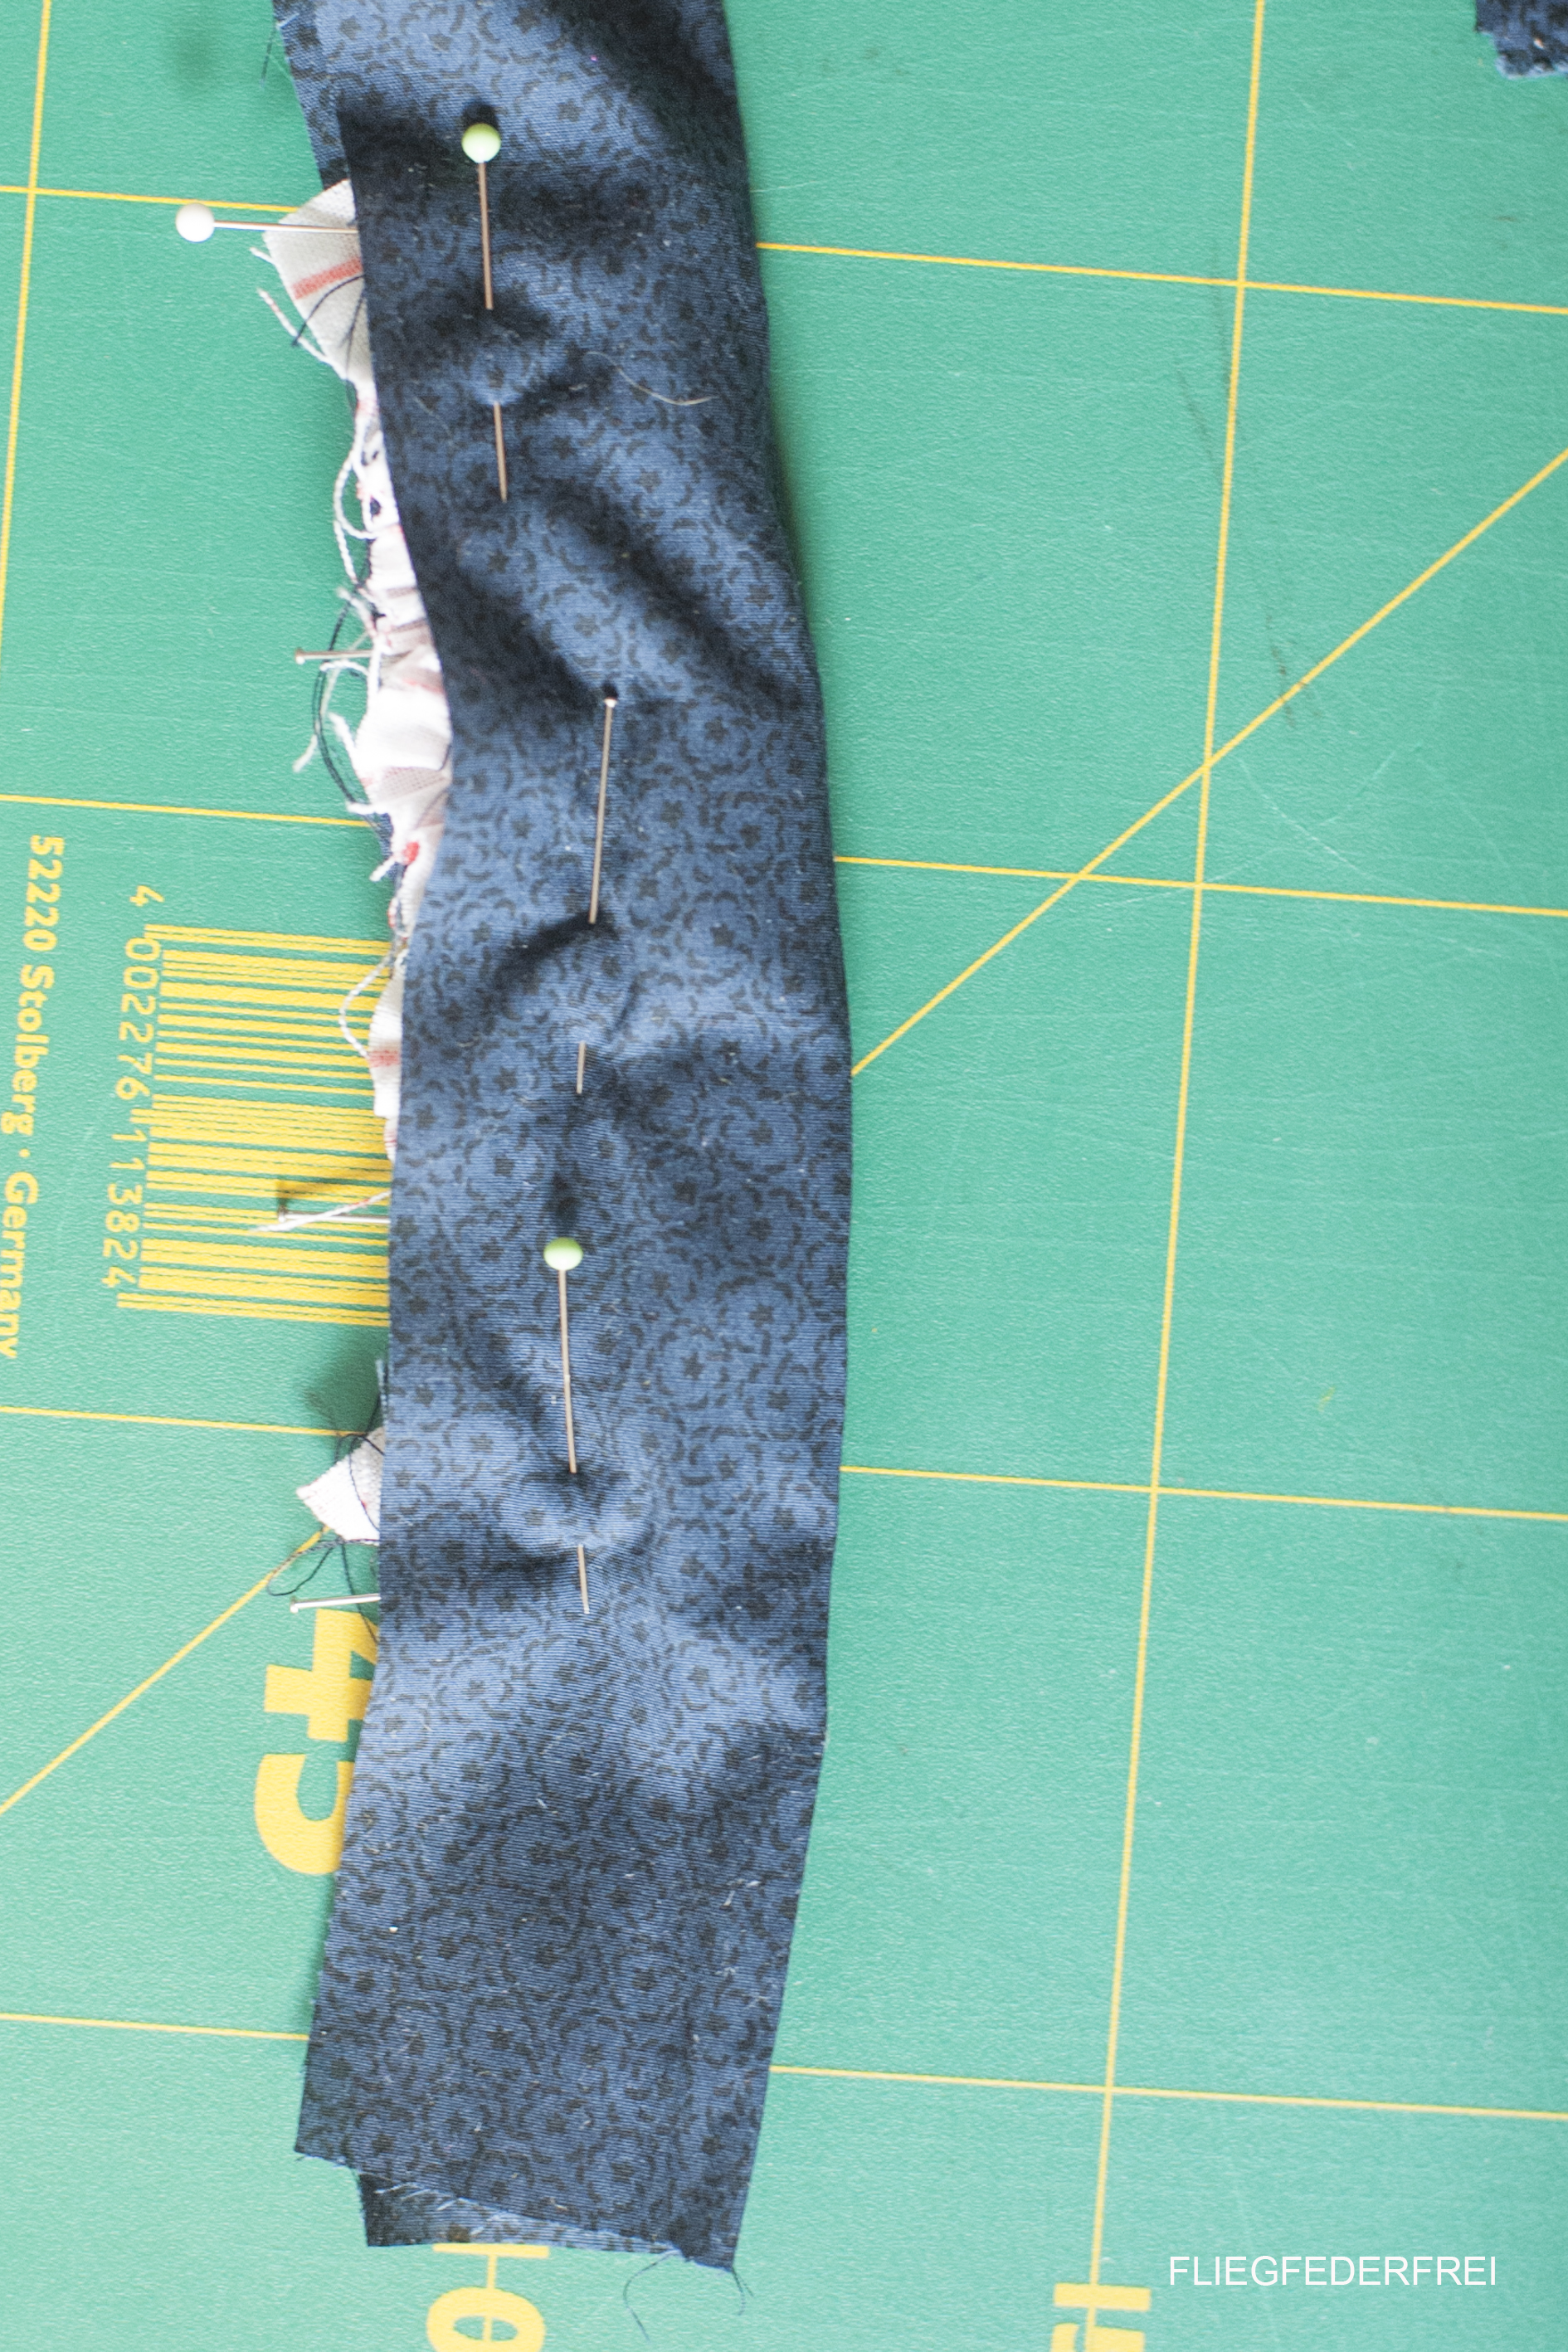
Sandwich your ruffles between your strap. And stitch. Turn right side out. A safety-pin does his duty well, if you don`t have a special tool for that.

That`s how it should look like. Attach them to the front about 3 cm from the middle on each side.
8. Step sew the casing on the back piece.

Press 1 cm to the wrong side. Then press 1.5 cm again to the wrong side. Stich near to the edging. Guide the elastic through your casing, using a safety-pin. I used 20cm of elastic. Secure the elastic by some stitches at both sides.
9. Step Close the side seams
10. Sew 2 Buttonholes to the back
Sew two buttonhole in the size of the straps (3 cm), near the middle line. Pull through your straps from the inside to the outside. Make a nice bow and your done.
If you didn`t use the hem of your t-shirt. Hem your dress now, making a narrow hem like described in step 7
Congratulation you did it!
If you have any questions feel free to contact me. I`m happy to help!

What an adorable upcycle! I think taking old clothes and making them into something useful down the line again is always a great idea. The rick rack is an excellent touch!
hy bianca, thank you for your nice comment. you’re right, upcycling is a great way to give a new live to something you do not use anymore. and if you do so for a baby, you allways have enough fabric ;).
Liebe Nina
it looks fantastic!
Es sieht wirklich toll aus, was du aus Papis Hemd gemacht hast! Gratuliere!
Gruss Mami
I just can’t get over that adorable gummy smile in the first photo! Adorable baby, and cute refashion!
Yes, she`s adorable, i know im biased, but for my she`s the cutes little baby ever. If you look close you can see her first tooth 😉